
Welcome to my first Festive Project Make! Yeaaahh! I know it is a tad early for the “C” word but seeing as most of the Crafty Magazines have issued their festive editions – why not?
This is my first attempt at making a home made Christmas Card and I wanted to keep it as simple as possible.
Time: 15 mins

Materials Required:
- Big Shot Die Cutting Machine (or alternative)
- A6 White Blank Greeting Card (15×10.5cm) / Envelope
- Co-ordinating Coloured Card Stock for Background (14 cm x 9.5 cm)
- White Card Stock (13.5 cm x 9 cm)
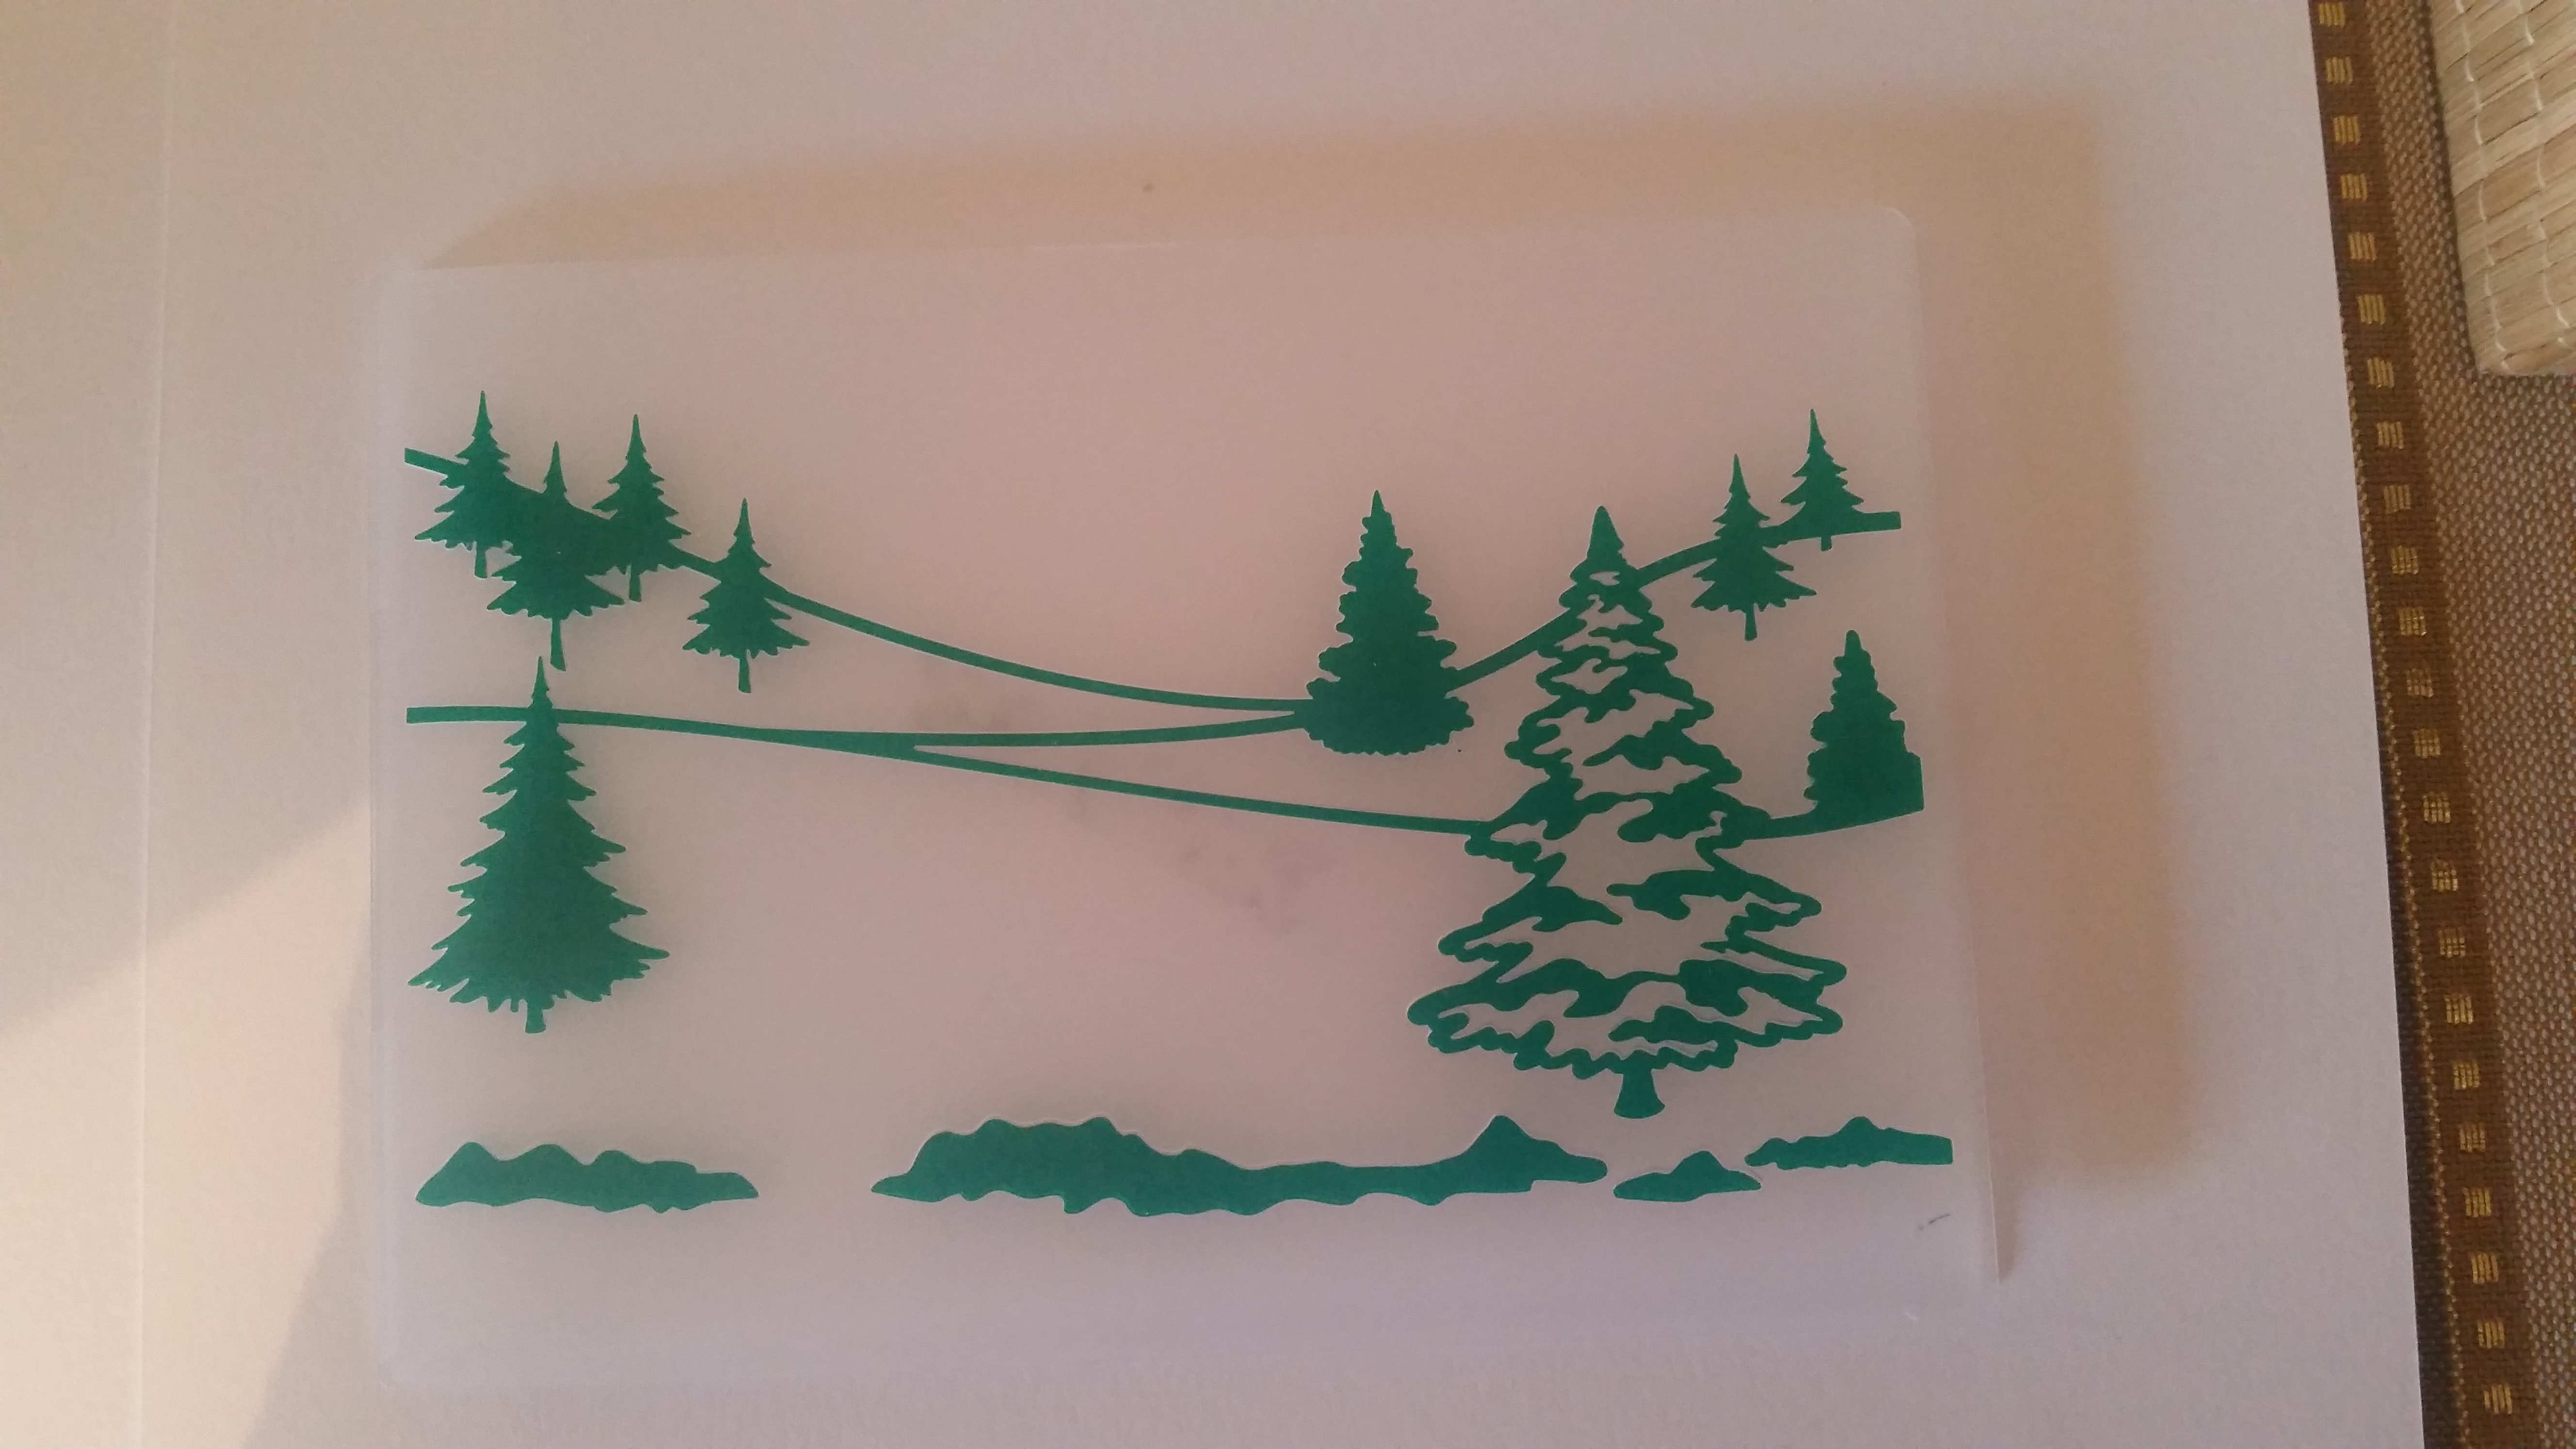
- Christmas Themed Embossing Folder (freebie from issue 181 of #SimplyCardsandPapercraftMagazine)
- Christmas Themed Dies (freebie from #PapercrafterMagazine October 2018 edition)
- Sparkly / Holographic or Colour Co-ordinating with your background Card Stock
- Adhesive
- Double sided sticky foam pads
- Spectrum Noir Clear Sparkle Pen (or embossing glue / powder)
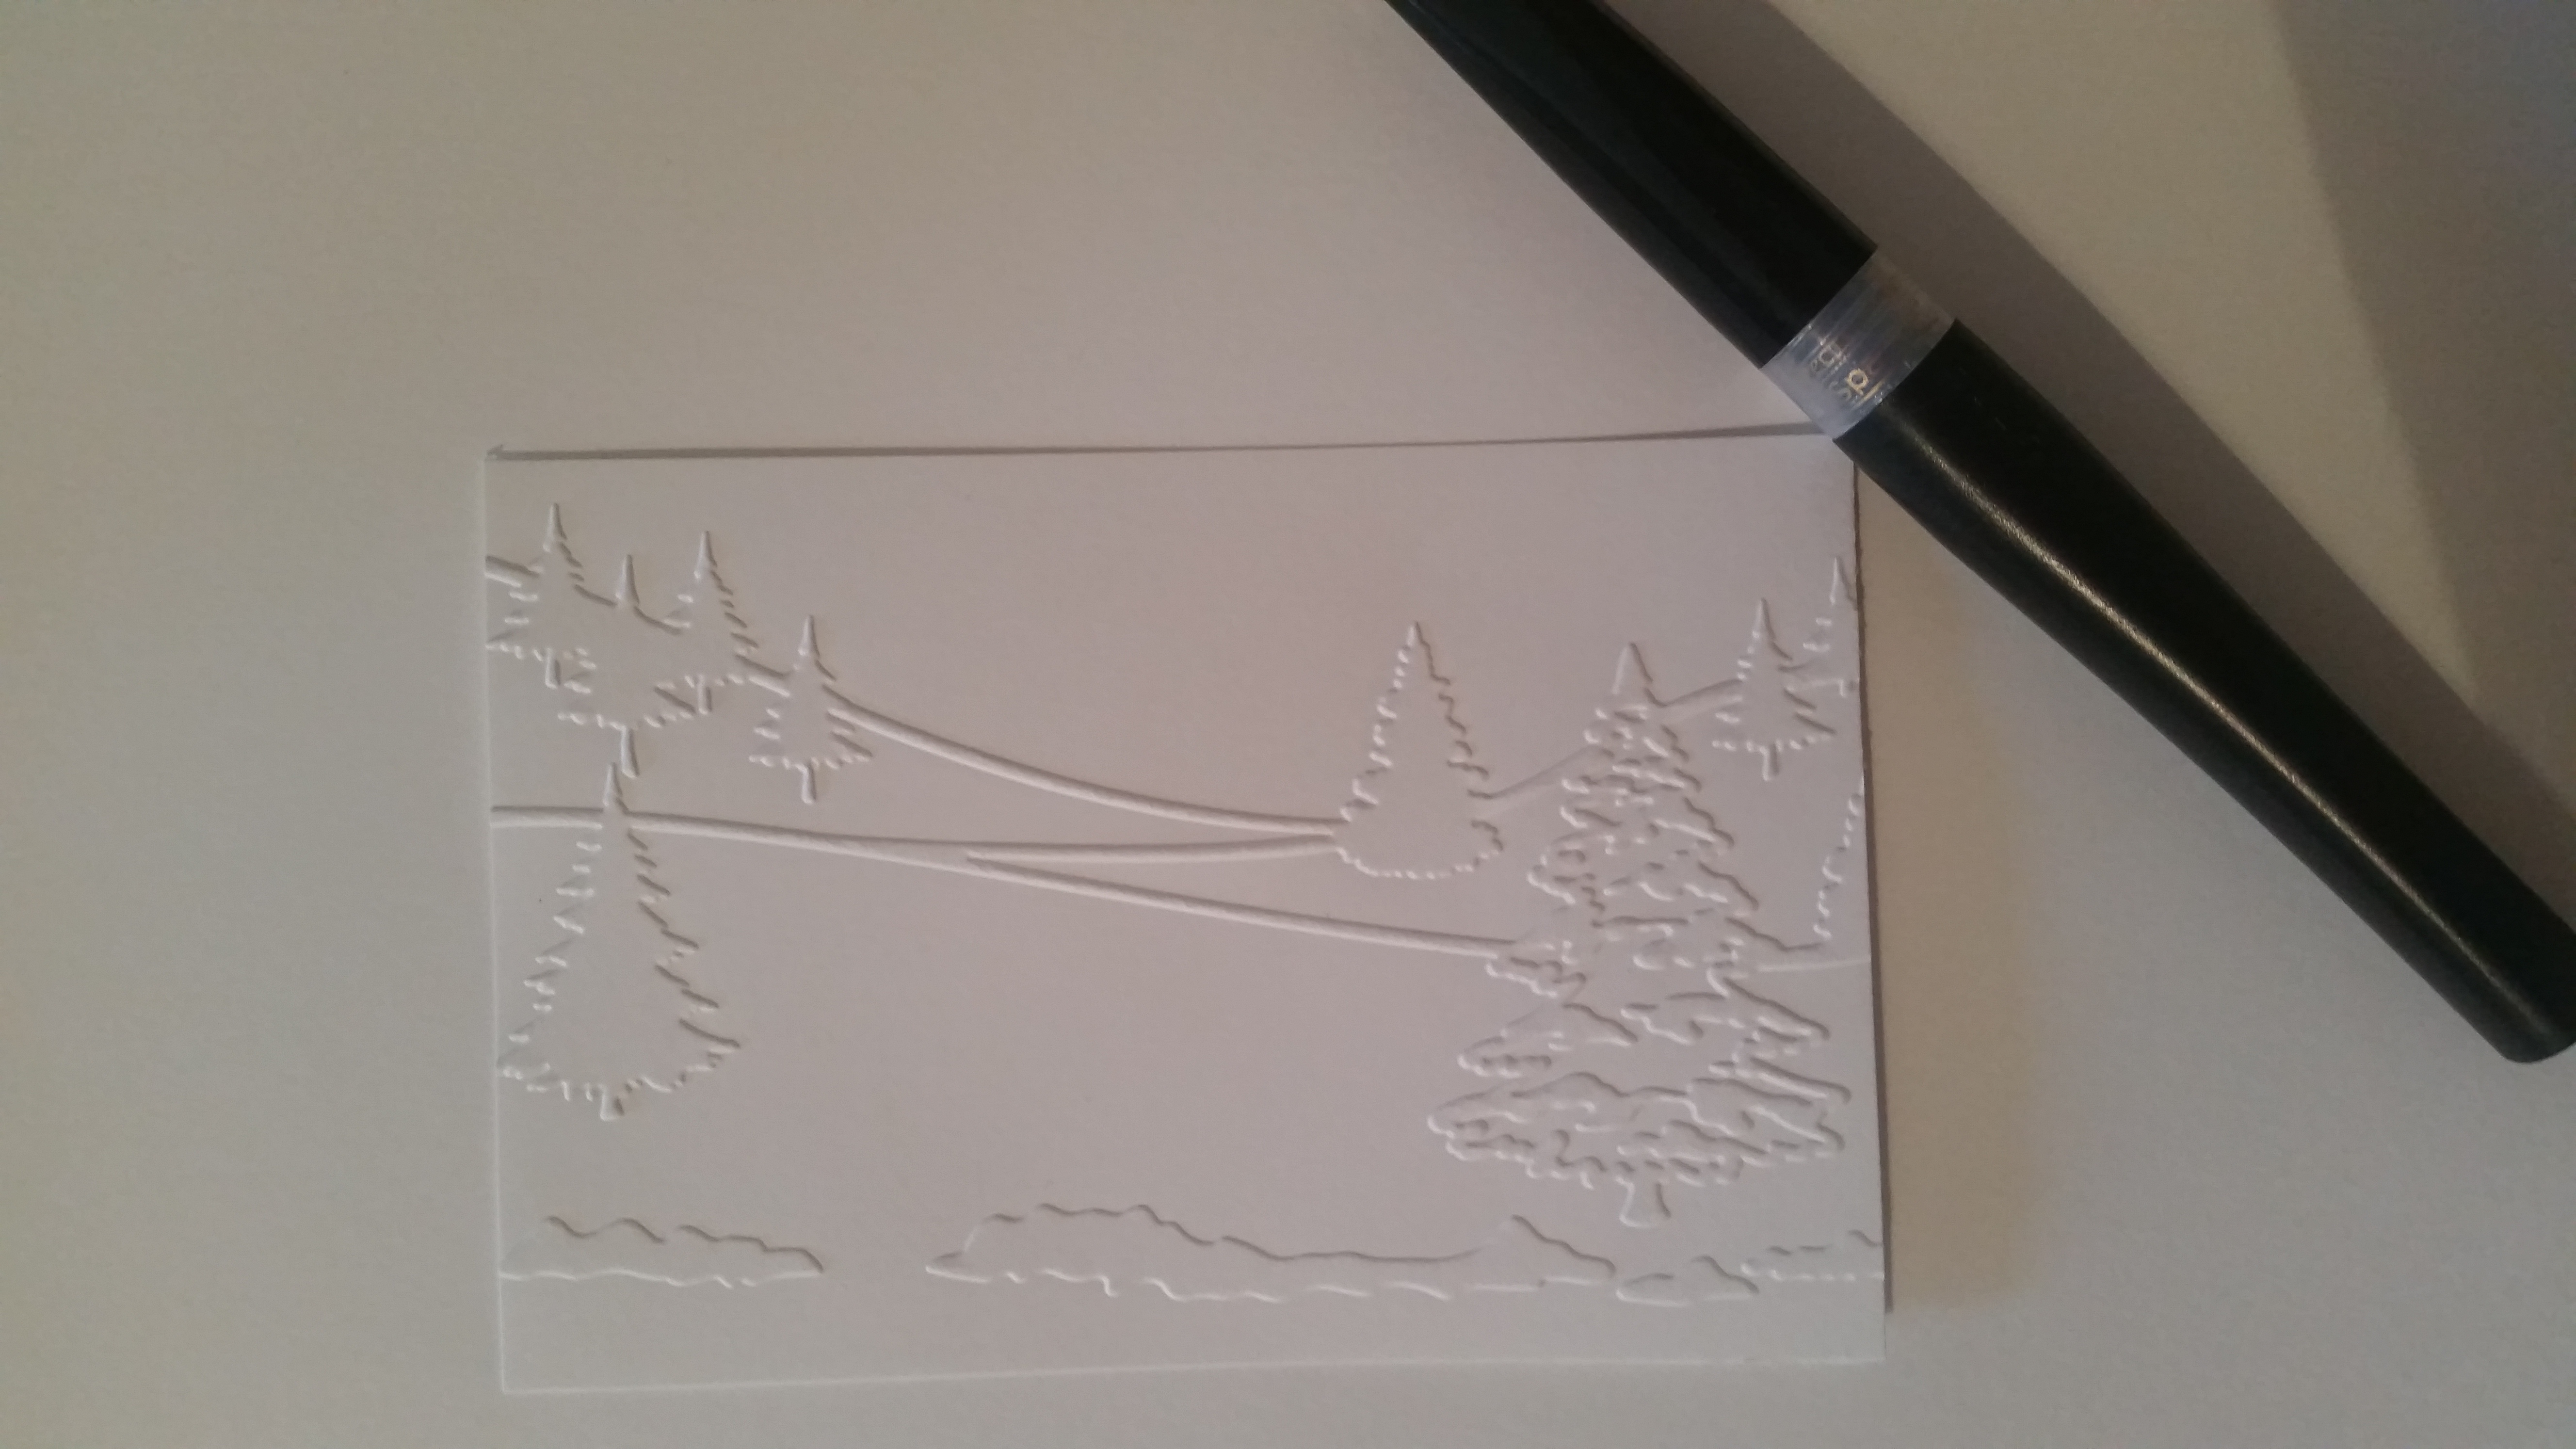
Step 1: Using your die cutting machine (with relevant plates used to emboss) emboss your piece of white card stock using the Christmas themed embossing folder. This embossing will give a 3-d effect to your card.


Step 2: Apply your Spectrum Noir Clear Sparkle to the raised areas of the embossed card.

Step 3: Apply your embossed card centrally to the background coloured card stock using either glue or adhesive tape (it is easier to manover into position if you use wet glue).


Step 4: Again, using your die cutting machine, die cut your Christmas Sentiment and deer embelleshment using your chosen fancier card stock.


Step 5: Carefully adhere your sentiment (only the sentiment) to the card front, using wet glue, very carefully so as not to get glue on the front of the die cut.
Step 6: Adhere your dee die cut to the card also, but this time using double sided sticky foam pads to give it a further 3-d effect.

Step 7: Adhere the whole lot to the front of your A6 card.

Step 8: Add a stamped Christmas sentiment image to the inside of your card if you wish. I chose to leave mine blank for now.
You are finished! Well done!
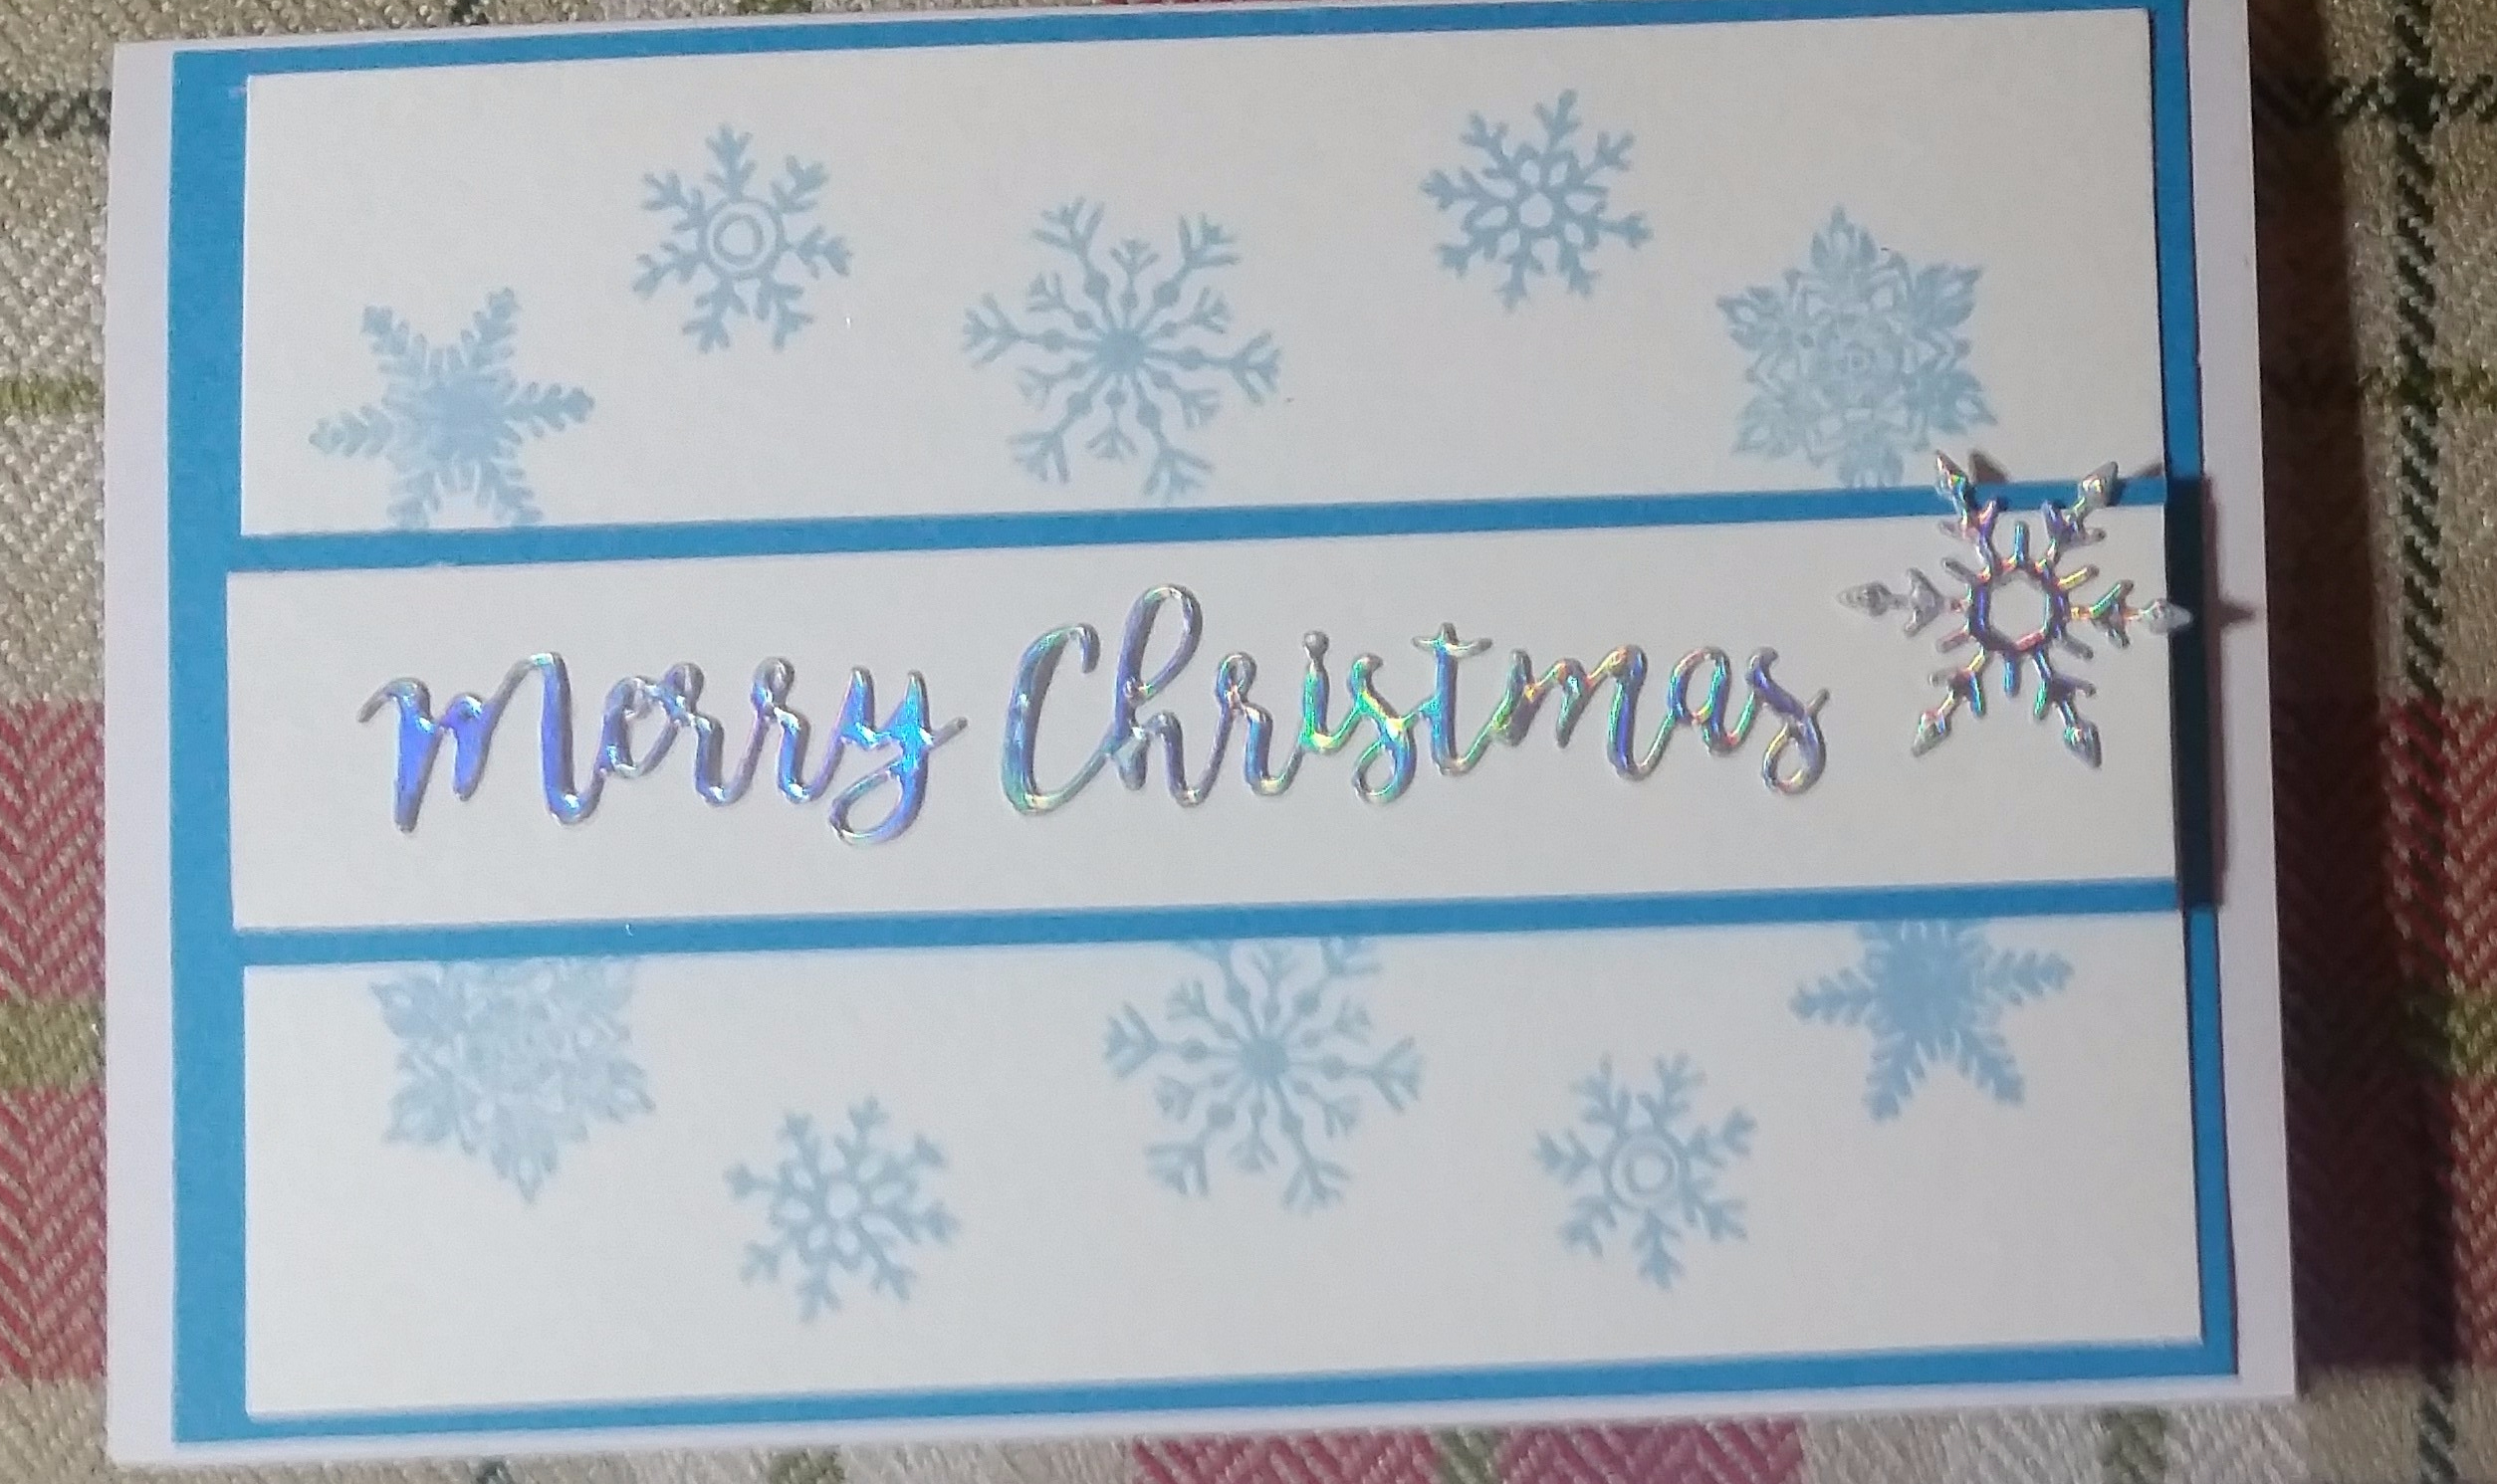
I made another three of these cards using different coloured background card stock and they all look effective in their simplistic form 🙂

Tips: Allow for your glitter pen ink and glue to dry at each stage of the project!
Altnerative options:
- Round off the corners of your front and background card stock to give a slighty softer look (I like sharp lines!)
- Instead of using the glitter ink, you may want to use embossing powder. Simply apply your embossing glue to raised areas of card front, apply your embossing powder, heat using your heat gun and ta da! (I’m not confident enough with embossing as yet!)
- Mix it up by using different die cut embellishment(s) / position of sentiment, etc. You could also colour the raised embossed areas with watercolour pens / paint / the possibilities are endless.
- How about attaching a ribbon in between the front and background card sections and tie to give a lovely bow too? Remember to use tape rather than glue for this or it may seep through your material!
Here is another variations of card I made on the same night 🙂 (Stamp set from Crafts Beautiful Magazine Oct 2018 issue.)
Well, I hope this has helped inspire you to try out your first hand crafted Christmas card!
T x