Stampin’Up! Tutorial – Gift Boxed Ferrero Rocher with Acetate Window
Happy Sunday! It has only taken me three, yes three days to convert my video to allow me to upload to YouTube – I’m still learning!
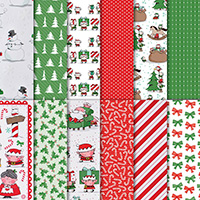
Well this is a super cute project make is it not? How sweet – a lovely boxed pack of four Ferrero Rocher with a super cute acetate window and fabulously decorated with Santa’s Workshop Speciality Designer Series Paper. Now this box measures 2″ in height and depth by 6″ in width.


Measurements
Cutting and Scoring
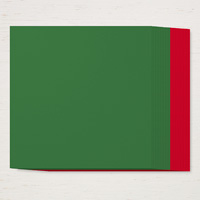
– A4 Poppy Parade Cardstock cut to 8 1/” x 10 1/2″. On the longest side at the top, score at 1/2, 2 1/2, 8 1/2, 10 1/2 inches. Turn anti-clockwise and score at 2″, 4″, 6″ and 8 1/4″
– Cut out sections as below as advised in YouTube Tutorial.
– Cut a piece of acetate (window sheet) 1 1/2″ x 5 1/2″.
– Cut out window area from box top carefully and attach your acetate (from inside of box) with double-sided tape.
Decorating
– Santa’s Workshop Speciality DSP (your choice). Cut x 2 panels for sides measuring 1 3/4″ x 5 3/4″” and two panel for both lids measuring 1 3/4″ x 1 3/4″.
– Glue dots to secure your sweets to bottom of box.
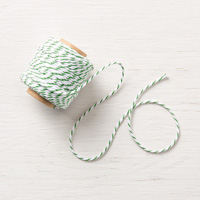
– Cut a piece of Garden Green Bakers Twine (long enough to parcel tie around finished project and secure by tying a bow.
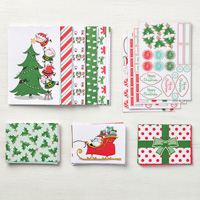
– Stickers of choice from the Santa’s Workshop Memories and More Card Pack.
Embellishing
Embellish as you deem necessary – remember sometimes less is more 🙂 In this project I used the pre-made stickers from the Santa’s Workshop Memories and More Card Pack.
Happy Crafting!
Love Tx
You can view my YouTube Tutorial directly below.
Be sure to follow me on Social Media and Subscribe to my YouTube channel. Search “Smithscraftycreations” Why not tag me in your project makes inspired by this tutorial.
PRODUCT LIST –
These are the products I used in this project make. You can purchase these online in my Stampin’Up! Shop by simply clicking on the image 😊 Happy Shopping


