Learn how to stamp and cut images with the Scan N Cut
Hi and welcome to today’s blog tutorial which is a new series every Sunday called “Scan n Cut Sundays” and this is the second episode of the series. Today’s tutorial is a simple “stamp and scan n cut” out your images.

Now I would like to premiere these tutorials every Sunday at 10 am so although you may be seeing this blog before then, please do set a reminder on youtube to join me and other viewers for a chat whilst watching the tutorial together. My youtube channel is (click link to be taken straight there):

I’d love for you to subscribe to my channel 🙂
This tutorial was a little easier to film and put together – mainly because I’m trying not to be as nervous about using my Scan n Cut.
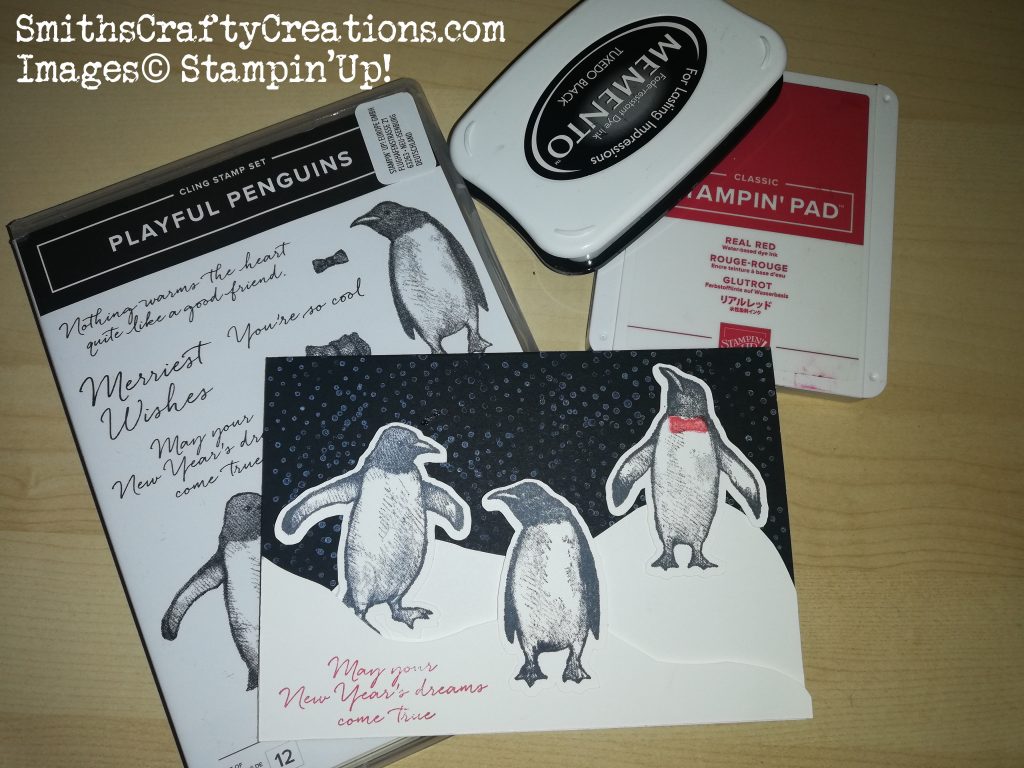
I hope you like today’s project which uses the lovely holiday catalogue stamp set called Playful Penguins, our basic black cardstock, and real red stampin’ pad.

Looking for a hard copy of our Catalogue – why not Contact me for a free copy.
All products used are listed below for your perusal.

Instructions and Measurements:
Stamping
You will need an A4 sheet of Whisper White.
Stamp your chosen images onto the card stock in black ink.
Trim down the section of paper and apply to your Low Tack Scan n Cut Mat (I use low tack tape to double secure my cardstock on the mat).
Scan N Cut
Load up your mat, and choose scan…. direct cut…..select the machine for saving the image temporarily…check scanned image….. reduct cutting area by using the on screen arrows…..if you want a border around your images select the circle type option…. up the cutting border to either 1mm or 2mm – I like 2mm…..click okay then click CUT…..then the start button. Please refer to tutorial for step by step visual guide.
Building your Card
Cut a piece of basic black card stock to 4 1/8 x 5 7/8″
Cut a piece of whisper white cardstock to measure 3″ x 5 7/8″
Using this white piece, cut in half in a wavy snow drift type pattern
Assemble card and add sentiments of choice.

Thank you so much for taking the time to visit my blog today.
Products Used:
Thank you so much for visiting me today. I hope that you enjoyed this project and can take something away from today to try at home.
Product List


YouTube Tutorial – Scan n Cut Sundays #2
Don’t forget to check out my Shop Now page, Customer Reward Page, Monthly Creative Crafting Kit Page and my Special Offers pages.
Don’t forget to subscribe to my YouTube Channel too www.youtube.com/smithscraftycreations