Welcome to today’s Sunday Special #15 How to make a water-coloured handmade card
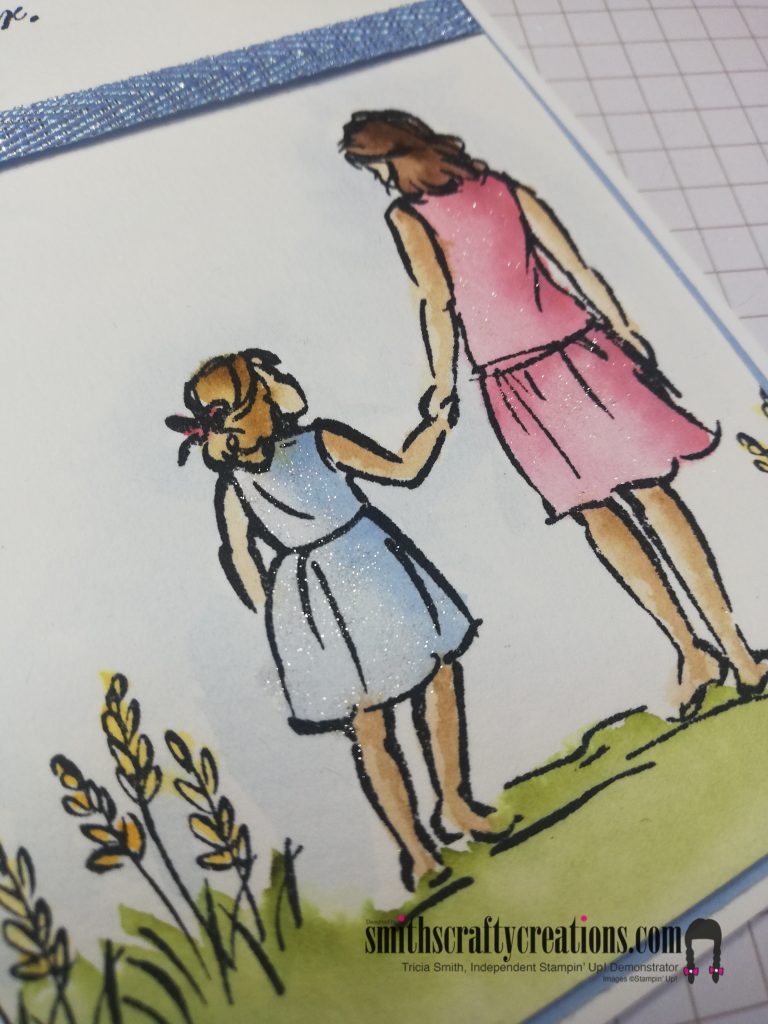
Hi and welcome to another blog post. Today is the 15th Sunday Special and I show you how to make a water-coloured handmade card. I am using Beautiful Moments stamp set (item number 103954).
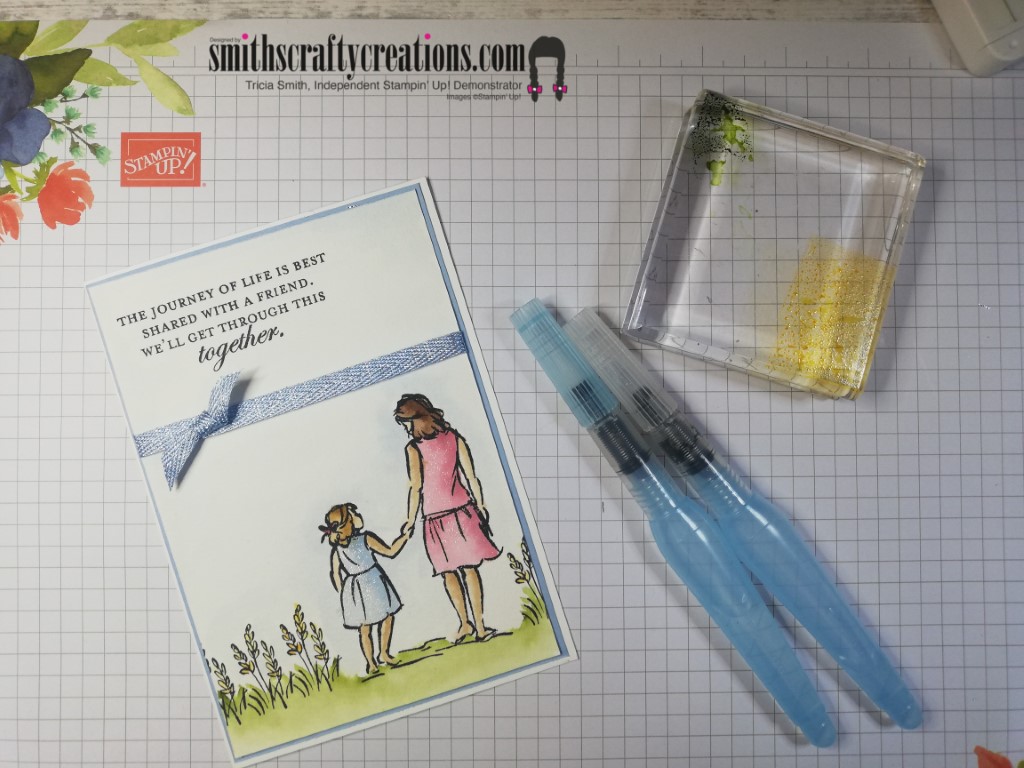
The main colours I chose are Seaside Spray and Rococo Rose with a whisper white card front.
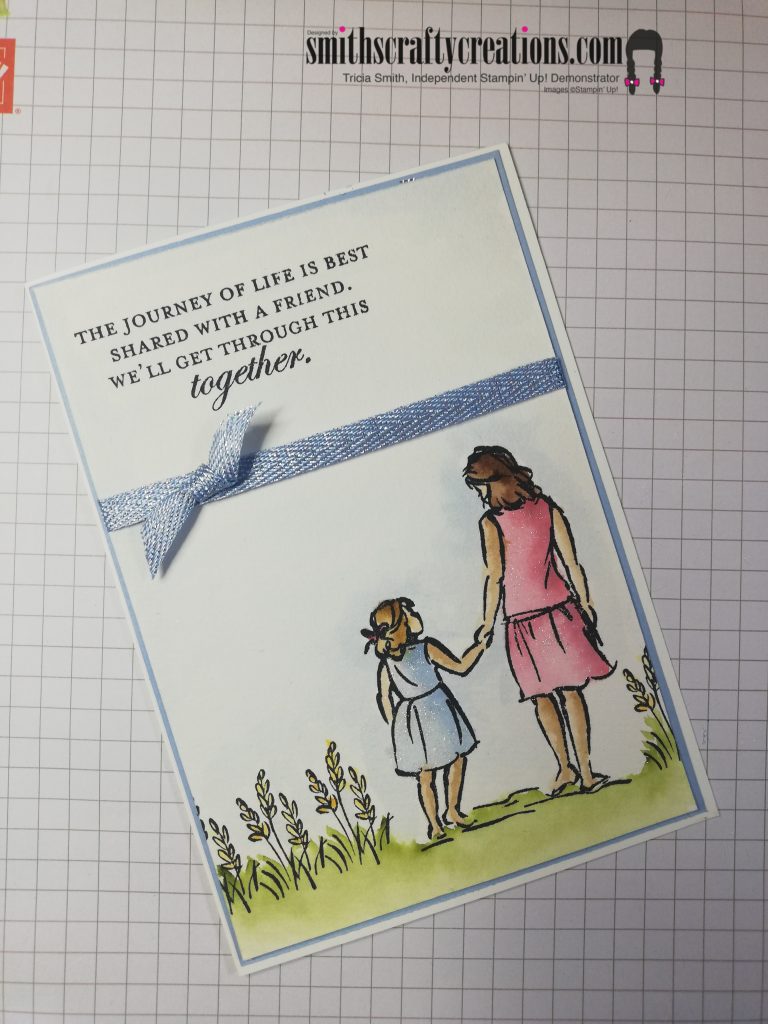
Today’s card was another one of my classic Make it up as I go kind of cards and I love how it turned out. Using our fabulous Aqua Painters duo pack (Item no 103954) this card was so much easier to make.

Our Fluid 100 water-colour card stock is such a necessity when thinking about doing this type of colouring. Fluid 100 Water-colour Paper is a thick paper designed especially for water-colouring. Cold-pressed, archival cotton paper. Natural white colour with subtle texture. A must for any crafter who likes to colour by painting.
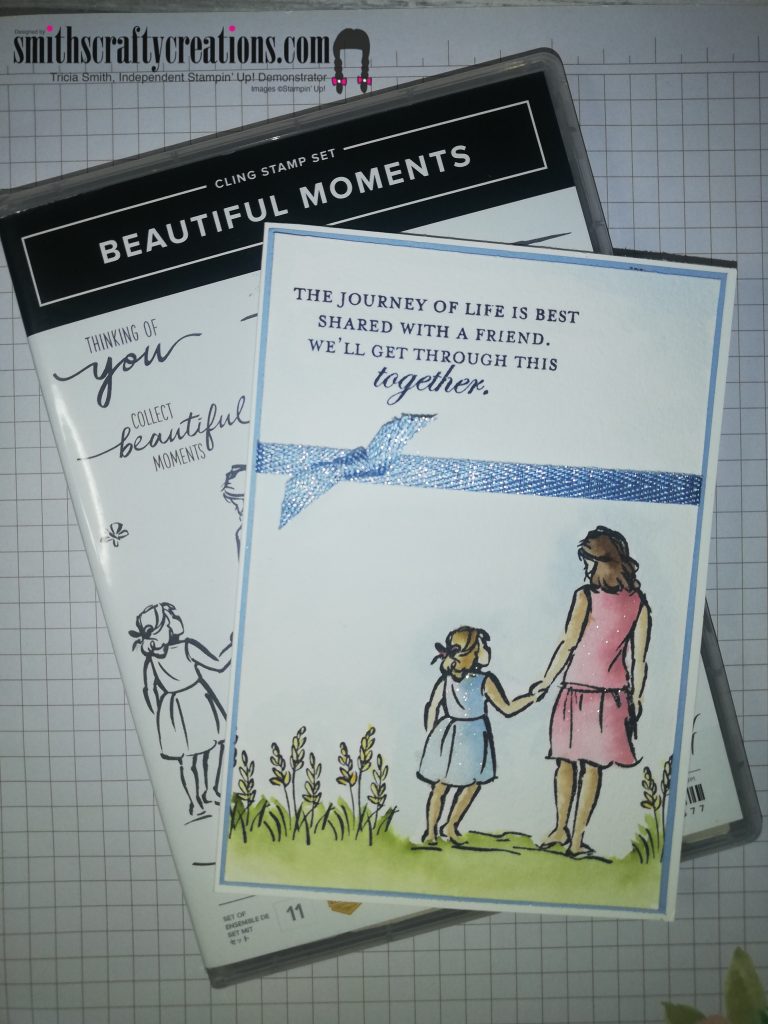
I just had to add some Seaside Spray 1/4″ (6.4 Mm) Metallic Ribbon
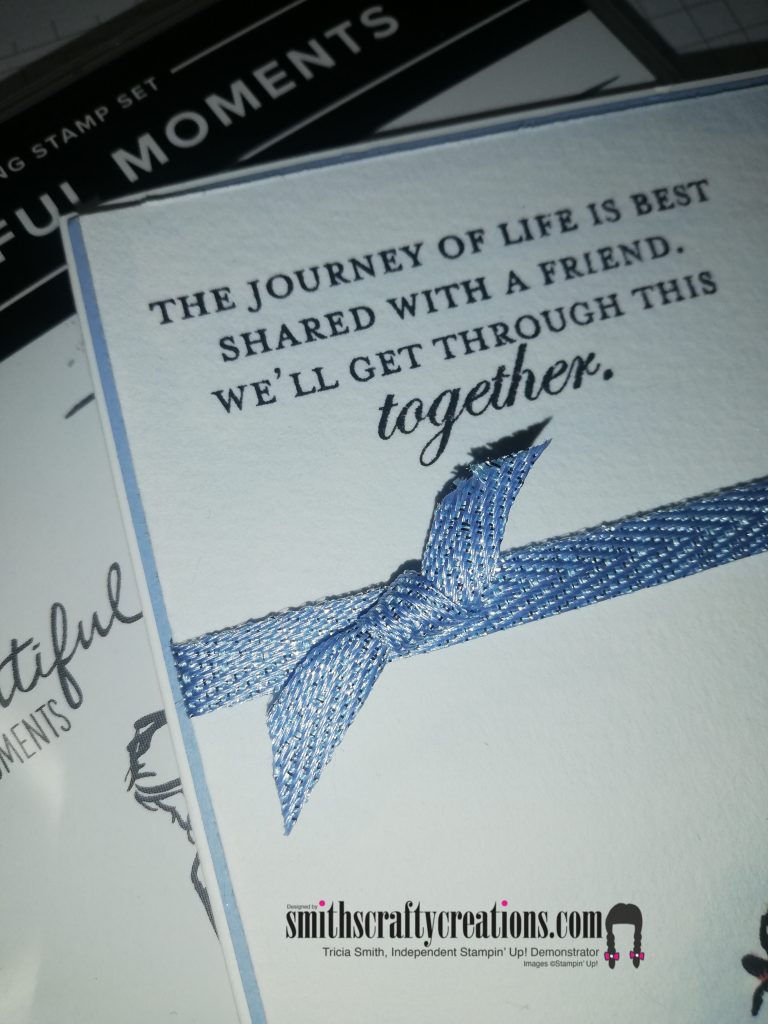
Every pretty card should have a little touch of Wink of Stella Glitter. Easy to add sparkle to your projects without the mess. The Wink of Stella Glitter Brush is perfect for writing and adding subtle controlled glitter to stamped images. The brush tip produces thick and thin lines, allowing artistic freedom.
My YouTube channel is via the link below – I’d love for you to pop over to subscribe and watch this premiere with us.
Looking for a hard copy of our new Mini Catalogue – why not Contact me for a free copy.
Heartfelt thanks for taking the time to visit my blog today I hope that you have time to view the YouTube video below also.
Products Used:
I hope that you enjoyed this project and can take something away from today to try at home. I’ve listed the main products used:
Product List You can find all products in my online shop here:
www.smithscraftycreations.stampinup.net
Instructions
Cut down a piece of Whisper White Cardstock in half to form an A5 size. Fold in half to give you a card measuring 4 1/8″ x 5 7/8″
Cut a piece of seaside spray cardstock down to 4″ x 5 3/4″
For stamping layer – cut a piece of your Fluid 100 water-colour paper down to 3 7/8 x 5 5/8″
With your Stamparatus for help, stamp your images and sentiments using Stazon Ink onto your water-colour card. You may need to repeat the stamping to get that bold black image.
Add some ink from your ink pads onto the corners of your stampin’ blocks.
Colour your images using your Aqua Painter(s). I used the smaller of the two as the images are relatively normal size. Colour around images too for extra colour.
Add some wink of stella to the girls’ dresses.
Add your ribbon to top layer, with a square knot added after, before adhering your card together.
YouTube Tutorial – Sunday Special #15 How to make a water-coloured handmade card
You can join me at 6pm UK time for crafty chat via my youtube tutorial (link below) premiere. Simply click on the link and set yourself a reminder 🙂
Don’t forget to check out my Shop Now page, Customer Reward Page, Monthly Creative Crafting Kit Page and my Special Offers pages.
Don’t forget to subscribe to my YouTube Channel too www.youtube.com/smithscraftycreations


