

Sunday Special #17 An Acetate Front Handmade Card
Hello and welcome to another blog post I am so happy you are here today. Today’s project for Sunday Special is an Acetate Front Handmade Card. I decided to use this template for my most recent Online Coffee and Card Class Saturday past. If you’ve already seen that tutorial, this one is pretty much the same.
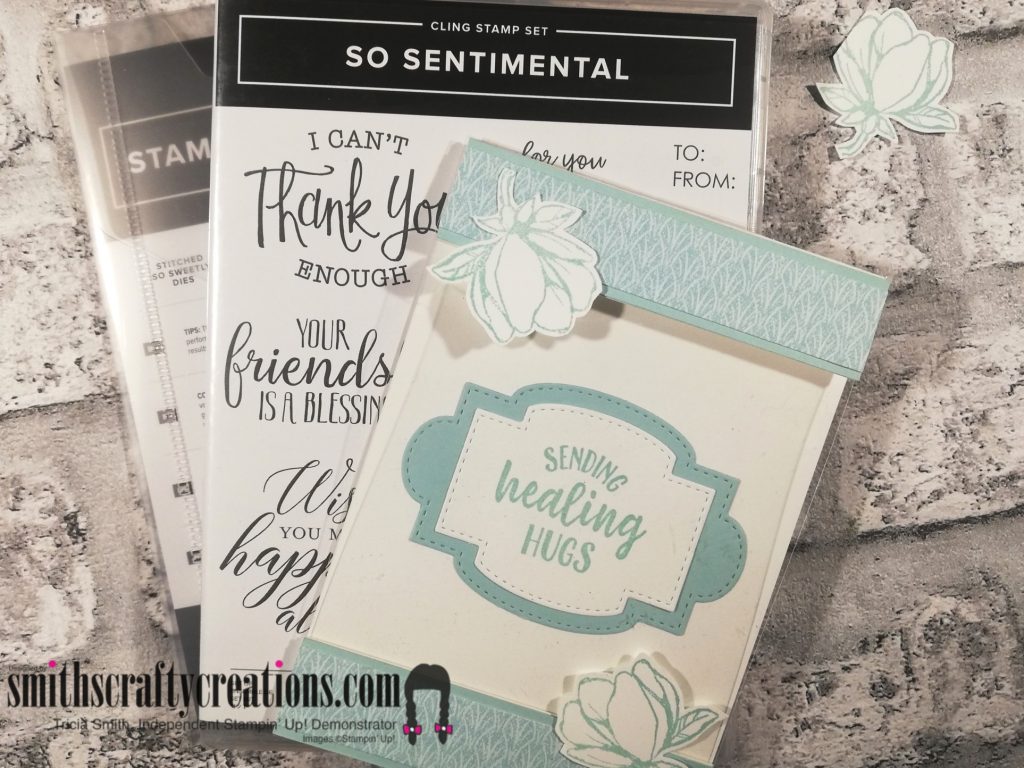
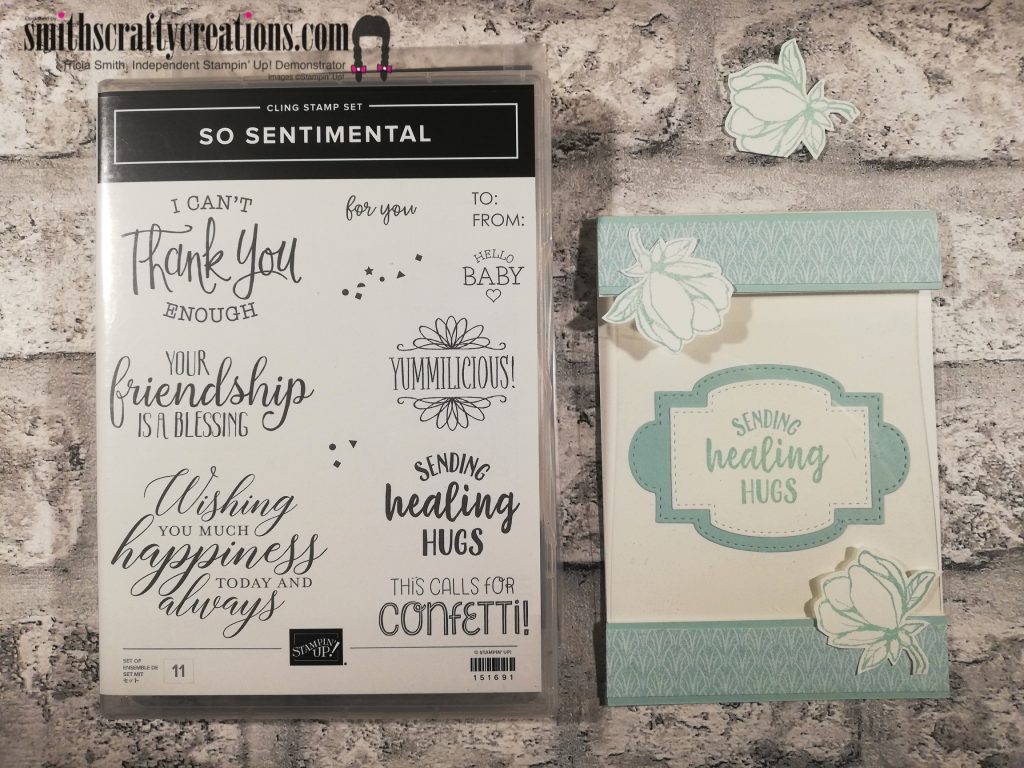
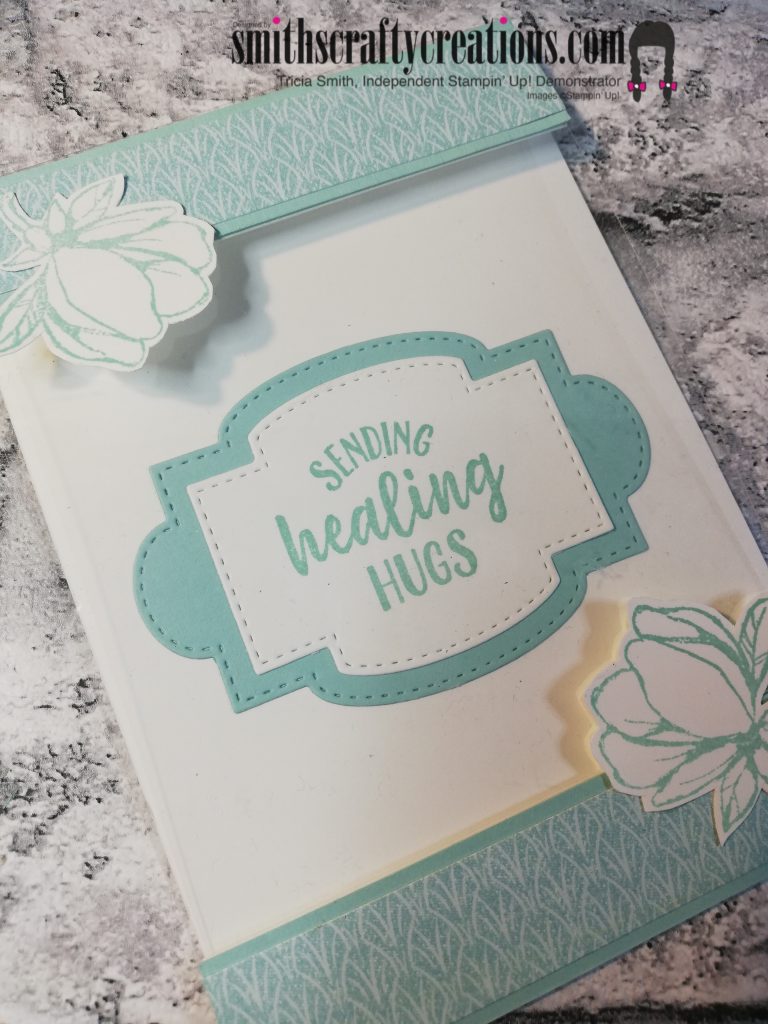
So sentimental bundle was used today, both the stamp set and the dies.

The card stock used today is Pool Party and this is layered with Tropical Oasis Designer Series Paper.
My floral images are from the Good Morning Magnolia Stamp Set.
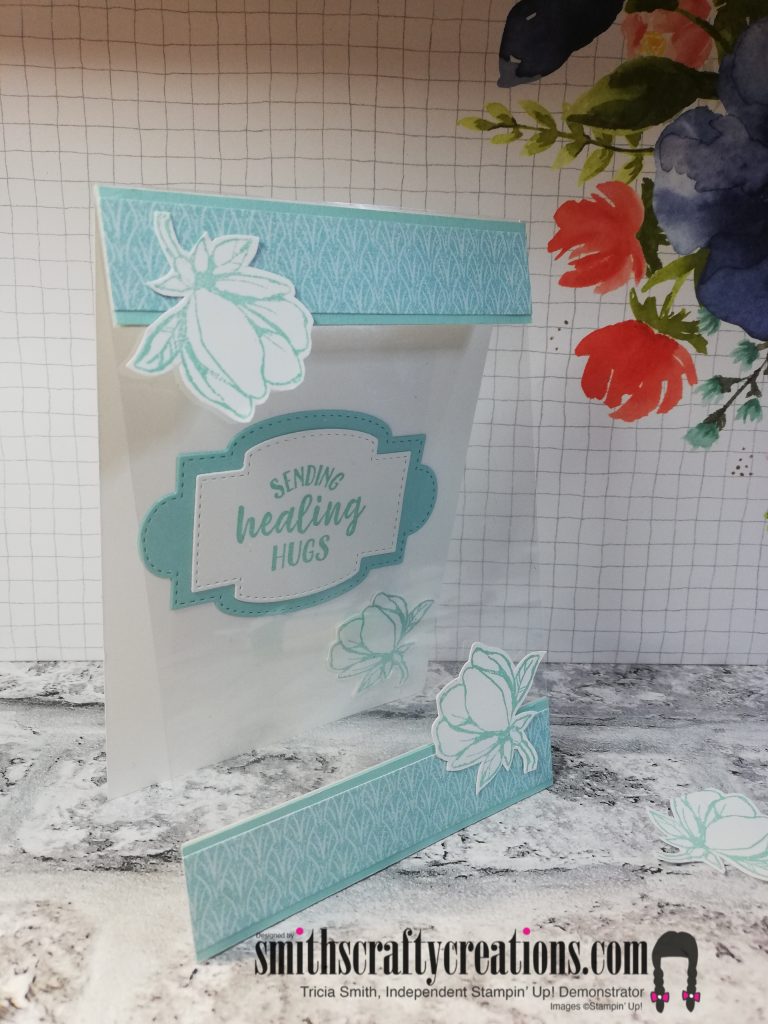
Monotone looking cards always catch my eye. Our window sheets (acetate) used make it much more appealing don’t you think?
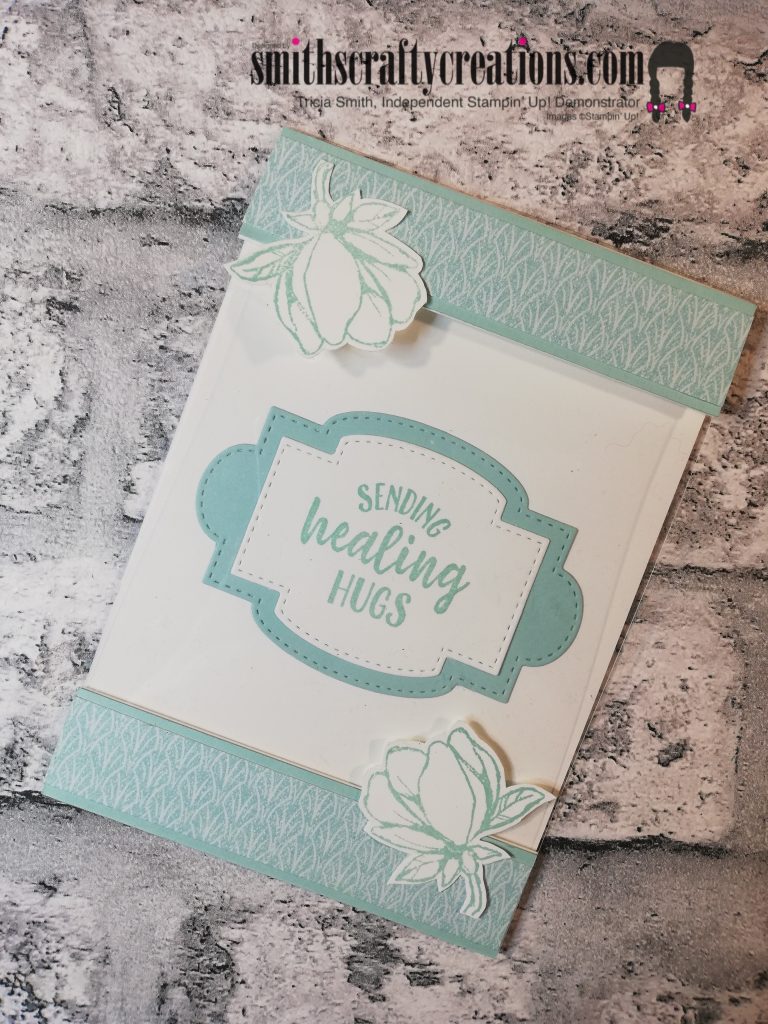
Here is a close up of my card for today.
Please visit my YouTube channel via the link below. Don’t forget to like, comment, share and subscribe if you like the tutorial.

Looking for a hard copy of our new Mini Catalogue – why not Contact me for a free copy.
I’d like to thank you for taking the time to visit my blog today.
Products Used:
I hope that you enjoyed this project and can take something away from today to try at home.
Product List")


You can find all products in my online shop here:
www.smithscraftycreations.stampinup.net
Instructions:
Card Base—
Whisper White Card base is 4 1/8″ x 6 7/8″ – Score at 5 7/8″
Front of Card — Acetate front should measure 4 1/8” x 5 7/8”
One piece whisper white for bottom of acetate front 4 1/8” x 1”
Matt and Layers (Front)—
Two pieces of Pool Party measuring 4 1/8” x 1
Two pieces of co-ordinating designer series paper measuring 4 1/8” x 7/8”
Matts and Layers (Back) —
One piece of Pool Party measuring 3” x 2 1/2”
One piece of whisper white measuring 2 7/8” x 2 3/8”
Stamping (3 parts)—
Front: Stamp some floral images on a piece of whisper white & fussy cut.
Inside: Stamp sentiment on white label die cut piece.
Back: Part stamp same floral image in corner of white layer & stamp sentiment.
Assemble your card—
Make sure that you have burnished all your scores well. Adhere all layers together and attach your fussy cut images to front section of card. Adhere your die cut label matt and layer pieces to inside. Matt and layer your rectangle/square layers to back of card.
Decoration—
Please add your preferred embellishments to front of card of your choice if you wish.
YouTube Tutorial – Sunday Special #17 – Acetate Front Handmade Card
Have a look at the tutorial which I have linked below for you. Thank you kindly.
Importantly, don’t forget to check out my Shop Now page, Customer Reward Page, Monthly Creative Crafting Kit Page and my Special Offers pages.
Don’t forget to subscribe to my YouTube Channel too www.youtube.com/smithscraftycreations