

Creative Collaboration Team Video Hop August
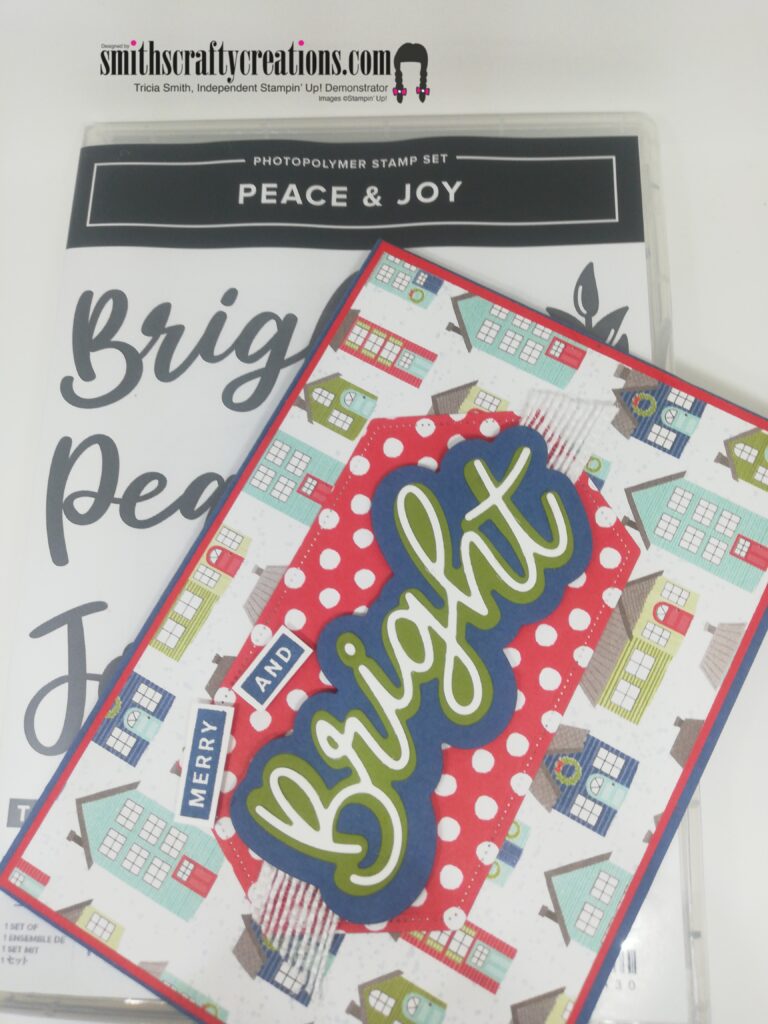
Today’s project is an August Creative Collaboration Team Video Hop Project. This month’s focus is on the new Mini Catalogue and I have chosen the Peace and Joy Bundle today.
The lovely Trimming the Town DSP was used today too. I love the lovely array of colours in this paper.
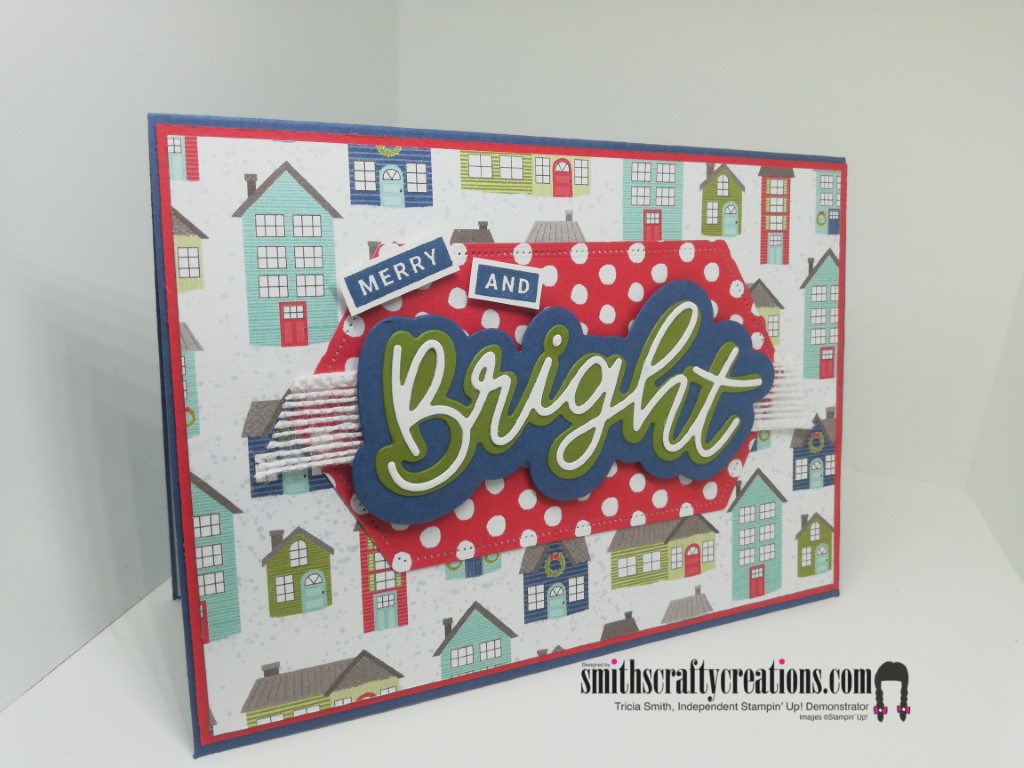
My card base is Misty Moonlight followed by a matt layer of Poppy Parade. There is also Old Olive in there too!
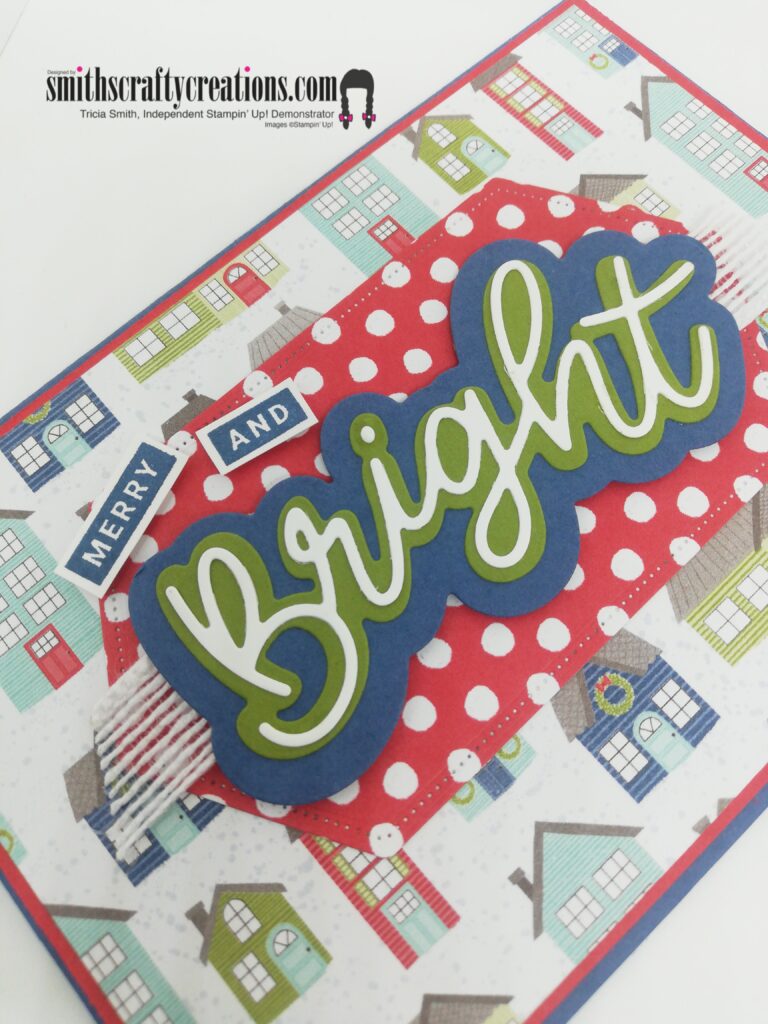
So the sentiment area is from the Joy Dies and the word I chose is Bright. Bottom layer is Misty Moonlight, Middle Layer is Old Olive and top layer is Whisper White.
Can you see the Nested Labels Die cut in the background too?

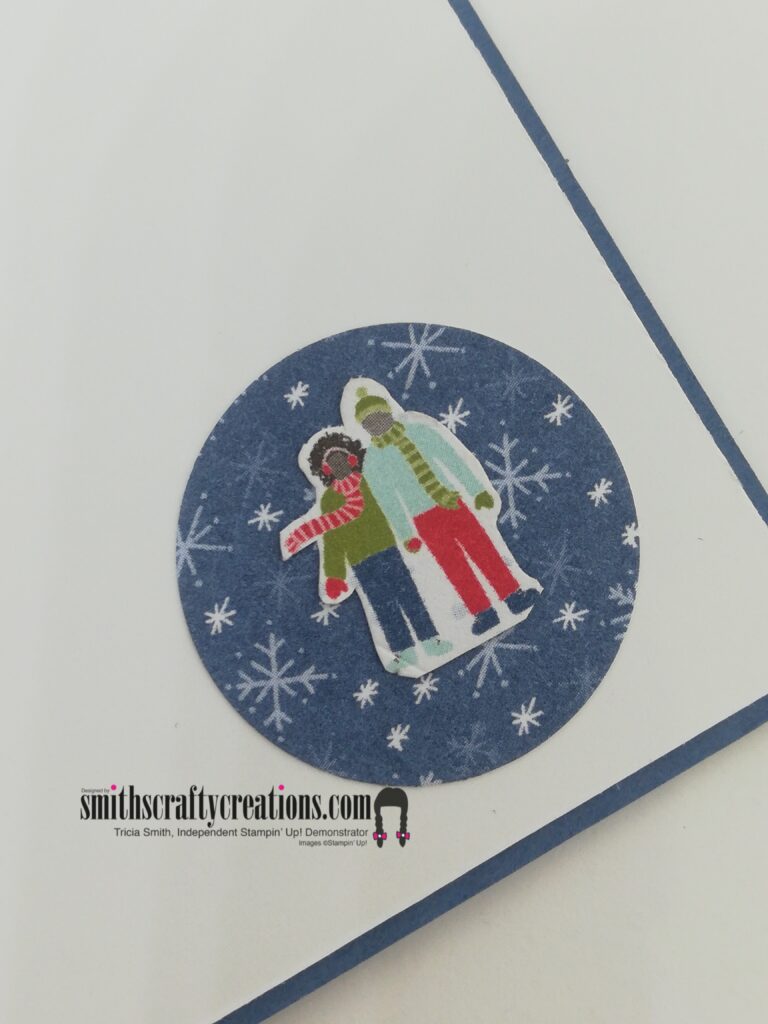
Look what I done inside, it is so cute.
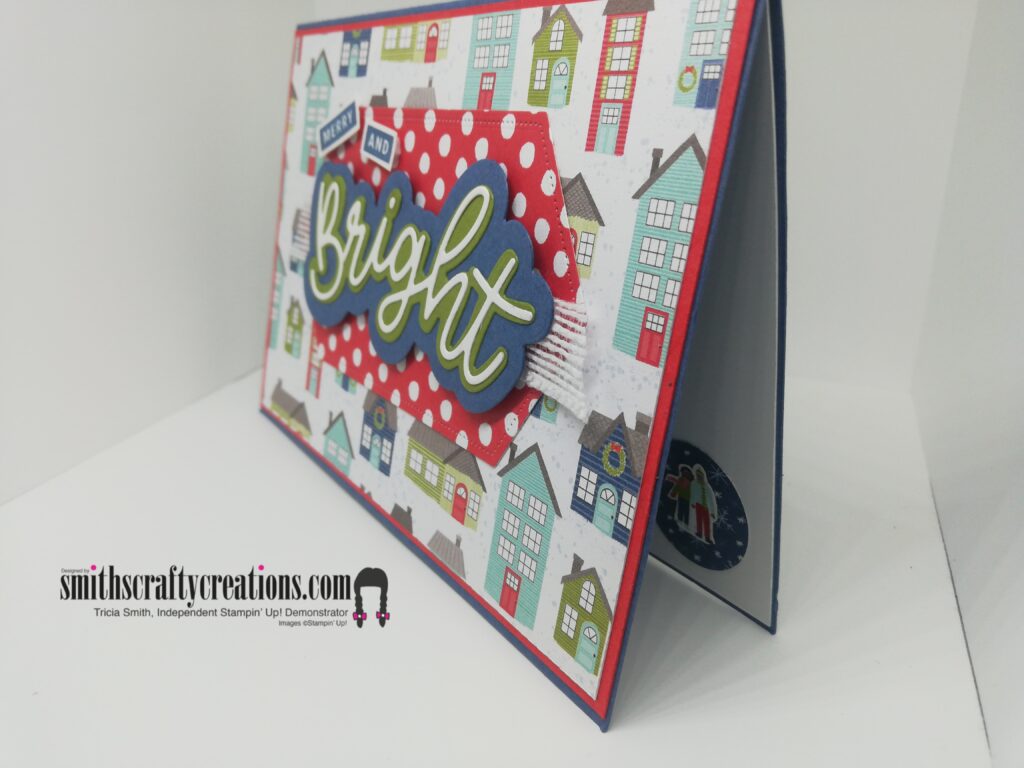
I fussy cut out two tiny images from a different scrap piece of DSP and layered it on to small circles.

Products Used
Please visit the Links to Products here – Show me the products
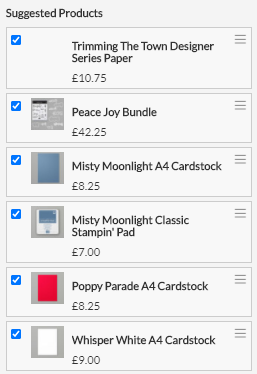
Click on the Shop with me image below:

I’d love for you to pop over to my YouTube Channel and give me a little subscribe, a thumbs up, a comment and don’t forget to hit that bell to be notified of future video tutorials. Simply click on the pink web address below.

Instructions:
1 – Card Base measures 4-1/8″ x 5-7/8″
2 – Matt Layer measures 4″ x 5-3/4″
3 – DSP Layer measures 3-7/8″ x 5-5/8″
4 – Adhere all of these together
5 – Die cut out the 2nd largest nested label die in a poppy parade themed DSP
6 – Die cut out the layers for your word (3 part die)
7 – Attach some ribbon to each end of sentiment in between that and the label behind
8 – Stamp and fussy cut out the words MERRY and AND
9 – Attach to front of card
10 – Fussy cut and layer images inside too or just stamp a sentiment
YouTube Tutorial
Looking for a hard copy of our new Mini Catalogue – why not Contact me for a free copy. I hope that you enjoyed this blog post and can take something away from today to try at home.
Join my Community Facebook Group:
Crafty Stamping Club -Smithy’s Stampers Group Why not join us by clicking here

You can find all products in my online shop here:
www.smithscraftycreations.stampinup.net
Don’t forget to check out my Shop Now page, Customer Reward Page, Monthly Creative Crafting Kit Page and my Special Offers pages.
Don’t forget to subscribe to my YouTube Channel too www.youtube.com/smithscraftycreations
