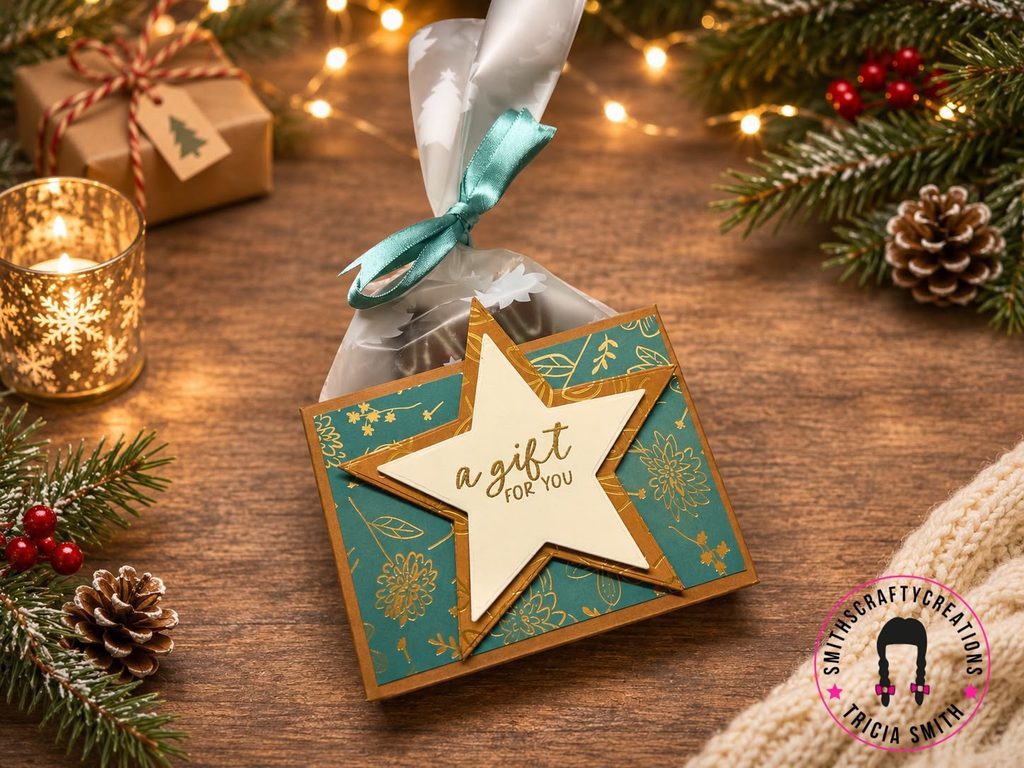

Handmade Christmas Star Cookie Gift Box – Easy Festive Gift Idea
🎄🍪 Looking for a cute and easy handmade Christmas gift idea?
I’ve been busy with my Christmas crafting again, and today I’m sharing a lovely little project that I think turned out really nice!
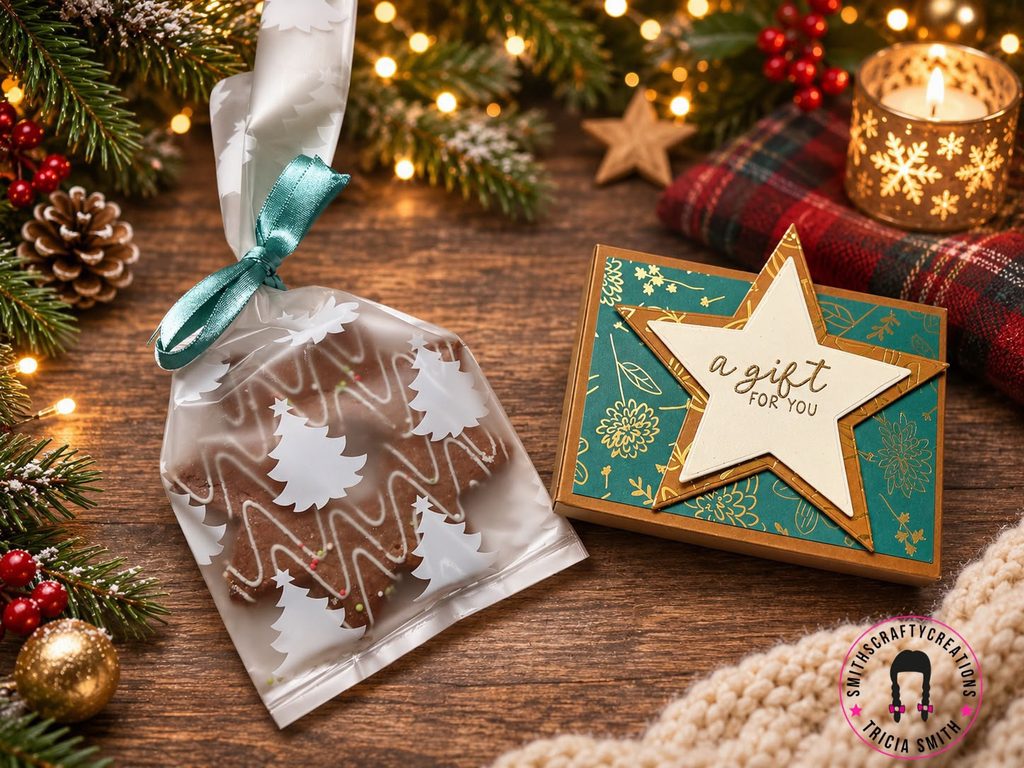
I had some delicious Christmas star cookies, already packaged in food-safe bags, and wanted to find a pretty way to display them rather than simply handing over a bag of biscuits.
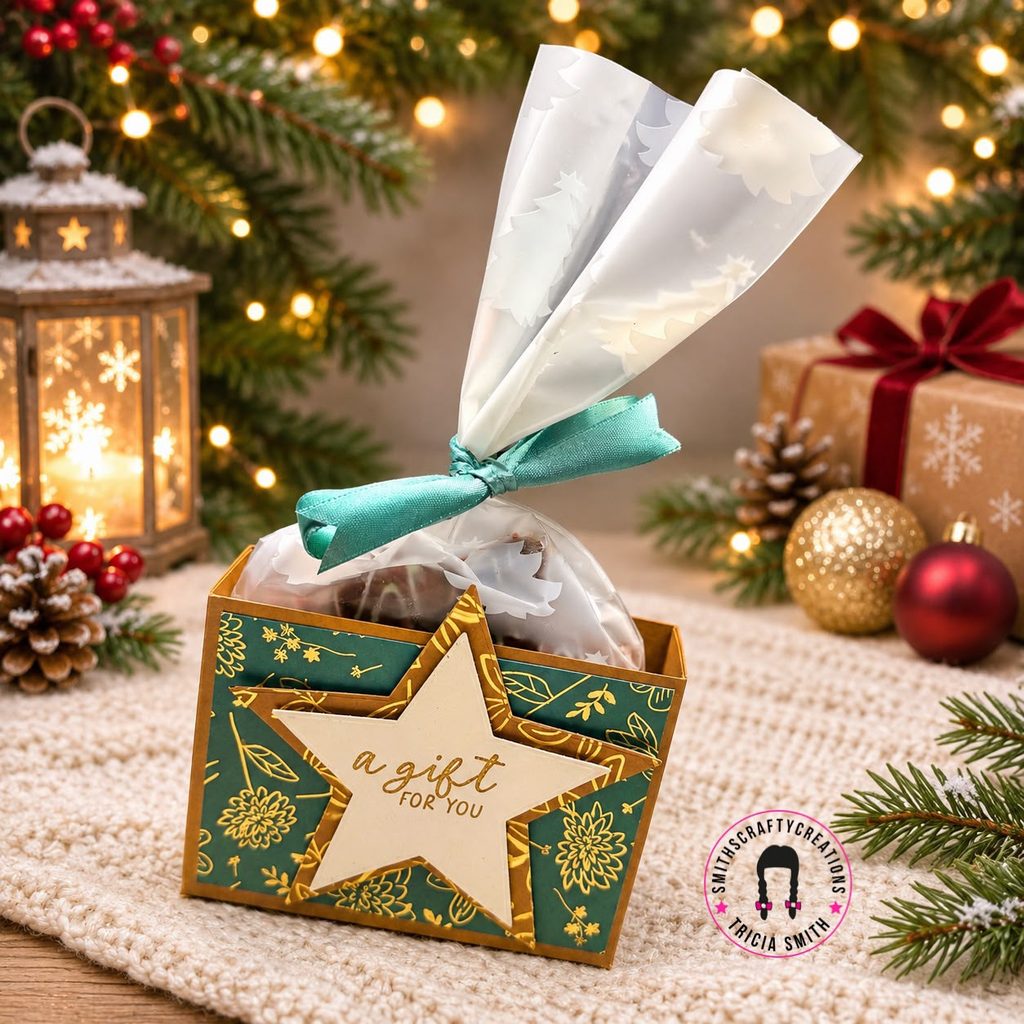
So, I decided to design a little open-top gift box for them to sit inside!
Using some gorgeous Stampin’ Up! products, a little gold embossing and coordinating patterned paper, I created these festive cookie gift boxes.
I think they’re perfect for Christmas gifting, stocking fillers, teacher presents or even as little treats for friends and family.
And they’re surprisingly easy to make!
A Little Handmade Christmas Magic
For this project, I’ve used Pecan Pie Cardstock as the base of my box, which works beautifully with the rich green and gold patterned papers.
The Designer Series Paper is from September’s Product of the Month (POTM), and I absolutely love how the gold detailing gives this project a lovely luxurious finish.
If you don’t have this particular paper, don’t worry! You can use whatever Designer Series Paper you already have in your stash.
I’ve also used October’s Product of the Month Star Dies to create a layered star embellishment for the front.
The finishing touch is the beautiful sentiment “A Gift for You” from the Scalloped Christmas Cheer Stamp Set, which I’ve heat embossed in gold.
I think the gold embossing really brings everything together and makes this little gift feel extra special!
Supplies Used
Here’s what I used to create my Christmas star cookie gift box:
- Pecan Pie Cardstock
- September’s Product of the Month Designer Series Paper
- October’s Product of the Month Star Dies
- Scalloped Christmas Cheer Stamp Set – 168538
- Gold Stampin’ Emboss Powder – 165678
- Embossing ink
- Heat tool
- Coordinating cardstock for the stamped star
- Paper trimmer and scoring tool
- Die-cutting machine
- Adhesive
- Christmas star cookies
- Food-safe bags (a retired Stampin’ Up! item from my stash)
- Coordinating ribbon
I love being able to use some of my older Stampin’ Up! supplies alongside newer products. It’s a great reminder that we don’t always need to buy something new to create something beautiful!
Measurements for the Open-Top Gift Box
Here are the measurements you’ll need to recreate this project.
Pecan Pie Cardstock 5-7/8″ x 7
Score Lines
On the 9″ long side, score at: 3″ on both ends
On the 7″ short side, score at: 1″ at both ends
Designer Series Paper Mats
- 2 pieces measuring 2-3/4″ x 3-1/2″
- 2 pieces measuring 2-3/4″ x 3/4″
Star Dies
- 3rd and 4th sized star dies from October’s Product of the Month
How to Make Your Christmas Cookie Gift Box
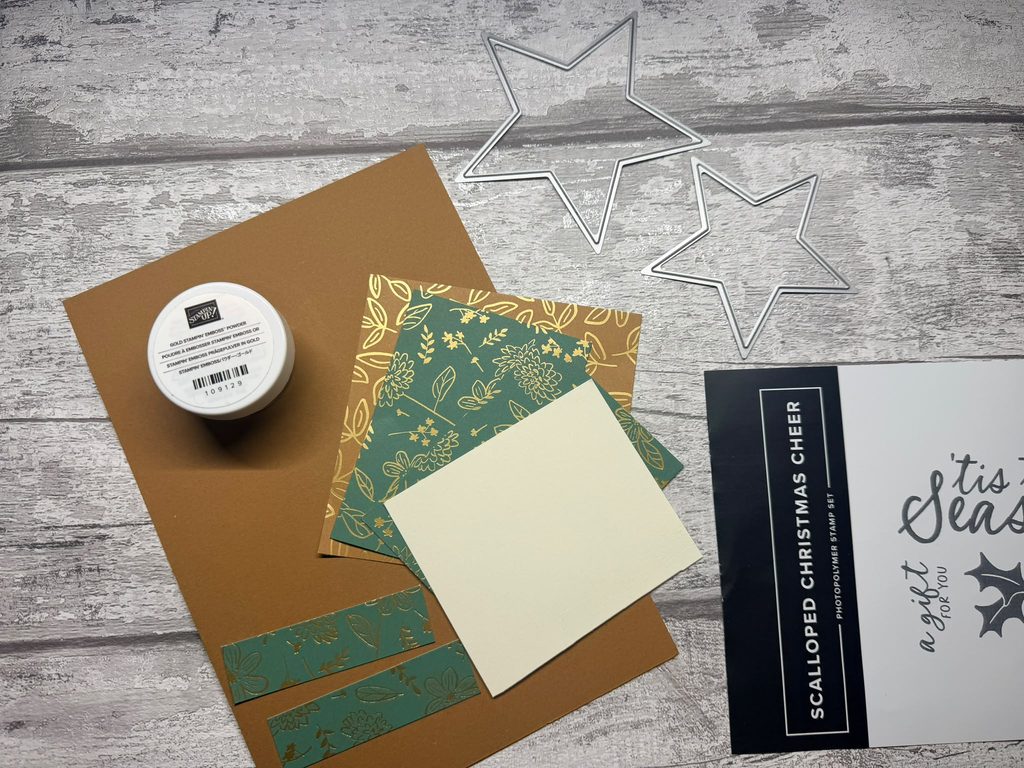
Step 1 – Cut and Score Your Cardstock
Start by cutting your Pecan Pie Cardstock to 5-7/8″ x 7.
Using your scoring tool, score along the long side at 3″ at both ends
Turn your cardstock and score along the short side at 1″ at both ends
Fold and burnish all your score lines to give them a nice crisp finish.
Step 2 – Assemble Your Open-Top Box
Cut along the appropriate score lines to create the tabs needed to form your box. Trim away any excess sections and secure the tabs with strong adhesive to create your open-top box. The finished design is perfect for holding a little bag of Christmas cookies while still allowing the pretty packaging to be seen.
Step 3 – Add Your Designer Series Paper
Next, cut your September Product of the Month Designer Series Paper to the following measurements:
- 2-3/4″ x 3-1/2″ – cut two
- 2-3/4″ x 3/4″ – cut two
Adhere your DSP mats to the corresponding panels of your box.
I chose the beautiful green and gold floral design, which coordinates so nicely with the Pecan Pie Cardstock.
The patterned paper really does most of the decorating for you!
Step 4 – Create Your Layered Star
For the main embellishment, I used the 3rd and 4th sized star dies from October’s Product of the Month. I die cut the larger star from coordinating Designer Series Paper and the smaller star from light-coloured cardstock. Layering the two stars creates a lovely focal point for the front of the box. I think stars are such a lovely choice for Christmas projects, don’t you?
Step 5 – Gold Emboss Your Sentiment
For the sentiment, I used the Scalloped Christmas Cheer Stamp Set (16838).
I stamped “A Gift for You” using embossing ink, sprinkled over Gold Stampin’ Emboss Powder (165678) and heated it with my heat tool until the powder melted into a beautiful shiny finish.
I absolutely love gold embossing at Christmas! It adds that little touch of sparkle and elegance without needing lots of extra embellishments. Once embossed, I attached my sentiment star to the larger die-cut star and secured the completed embellishment to the front of the box.
Step 6 – Add Your Christmas Star Cookies
I placed my Christmas star cookies into some lovely food-safe bags that I already had in my stash. These were a retired Stampin’ Up! product, but I was delighted to find a use for them! I tied the bags with coordinating green ribbon to finish them off. The decorated cookie bags then sit neatly inside the open-top boxes, creating a lovely handmade gift presentation.
And that’s it!
A beautiful little Christmas gift ready to give to someone special.
Perfect for Christmas Gifts and Stocking Fillers
I think these little boxes would make gorgeous gifts for so many occasions during the festive season.
They’re ideal for:
- Christmas stocking fillers
- Teacher thank-you gifts
- Little treats for friends and neighbours
- Work colleague gifts
- Christmas table favours
- Handmade gifts for family
- Christmas craft fairs
They’re also a lovely project to batch make if you need several little gifts.
You could even change the Designer Series Paper and ribbon to create different colour combinations.
Use What You Have in Your Craft Stash!
One thing I really want to encourage with this project is to use the supplies you already have.
Although I’ve used September’s Product of the Month Designer Series Paper and October’s Product of the Month Star Dies, you can easily adapt this design with whatever you have available.
Try different patterned papers, colours, stamps or die-cut shapes.
You could even make these little boxes for birthdays, Easter or other celebrations by changing the decorations.
That’s the beauty of papercrafting – one simple box design can be used in so many different ways!
A Lovely Little Gift Made with Love
I really enjoyed creating these Christmas star cookie gift boxes, and I’m so pleased with how they turned out.
The combination of the Pecan Pie Cardstock, green and gold patterned papers, layered stars and gold-embossed sentiment gives them such a lovely festive finish.
And I think presenting the cookies in their own little handmade box makes them feel even more special.
Sometimes it’s the little details that make all the difference!
If you’re packaging edible treats, remember to use food-safe packaging and keep any ingredient, allergen and date information available to the recipient.
Have a Go Yourself!
I hope this project has given you some inspiration for your own Christmas crafting.
Whether you’re making gifts for friends and family or preparing handmade goodies for a craft fair, these little open-top boxes are a lovely project to try.
I’d love to know – would you fill these with Christmas cookies, chocolates or something completely different?
Leave me a comment below and let me know!
Shop Stampin’ Up! Supplies
If you’d like to recreate this project, you can browse my Stampin’ Up! online shop for cardstock, stamps, dies, embossing powders and other papercrafting supplies.
🛍️ Shop Stampin’ Up! with me:
https://smithscraftycreations.stampinup.net
And don’t forget to explore more Christmas gift packaging ideas, handmade treat holders and festive papercraft inspiration here on my blog.
Got a question? Feel free to message or email me! 💕
There really is no such thing as a silly question, especially when you’re learning something completely new.
📩 Email me at Smithscraftycreations@gmail.com or send me a message through my social media pages.
I’m more than happy to help you get started, explain the basics or point you in the right direction.And your first handmade card could be the beginning of something rather lovely.
Happy crafting!
Tricia 💕
Smith’s Crafty Creations
Smith’s Crafty Creations
Creativity isn’t about perfection. It’s about relaxation, and making time for yourself.
#SmithsCraftyCreations #CouldCraftingBeYourNewThing #CardMakingForBeginners #PapercraftingForBeginners #NewHobby #CreativeHobbies #CardMakingUK #Papercrafting #TrySomethingNew #CreativeCommunity #StampinUp
🌸 Fancy Giving This Papercrafting a Try?
If you’re completely new to papercrafting, I’d love to help you get started. Follow my beginner series, join my crafty community, or get in touch and tell me “I’M NEW!”
💕 Follow the beginner series
👭 Join my crafty community
✂️ Find out about beginner classes
📧 Sign up to my newsletter
💕 Card Making for Beginners I need YOU
👭Card Making Basics
✂️How to Make Your First Handmade Card
Thank you everyone for checking out my blog post today.