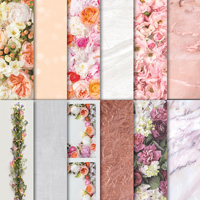
#SimpleStamping Card Tutorial for the new, intermediate and advanced styles of crafters using the very pretty and lush Petal Promenade Suite. This blog is geared towards the more basic crafter or new crafters with the more advanced options in brackets :). All materials used today as well as any tools required to help make your crafting journey easier will be highlighted throughout and also detailed below. All available to purchase online from my Stampin’Up! shop!
Step 1 – Making your card base (All Levels)

Using a ruler and scissors cut your A4 Cardstock into two strips measuring 11 1/2″ x 4 1/8″. Fold each strip in half and press down the crease – you now have two blank card bases. (More experienced crafters would use a Stampin’ Up! Trimmer with built-in scorer.)
Step 2 – Add your first layer to your card (All Levels)
Cut a piece of DSP (Designer Series Paper) to 5 1/2″ x 3 7/8″ and adhere centrally on your card base with wet glue. It would be at this point you would add your stamped sentiment, if you have any, or a preprinted/cut sticker embellishment. (More experienced crafters may use double-sided tape to adhere the first layer or a snail adhesive to make things that little bit quicker – I always use wet glue as its easier to reposition your layered section if placed squint)

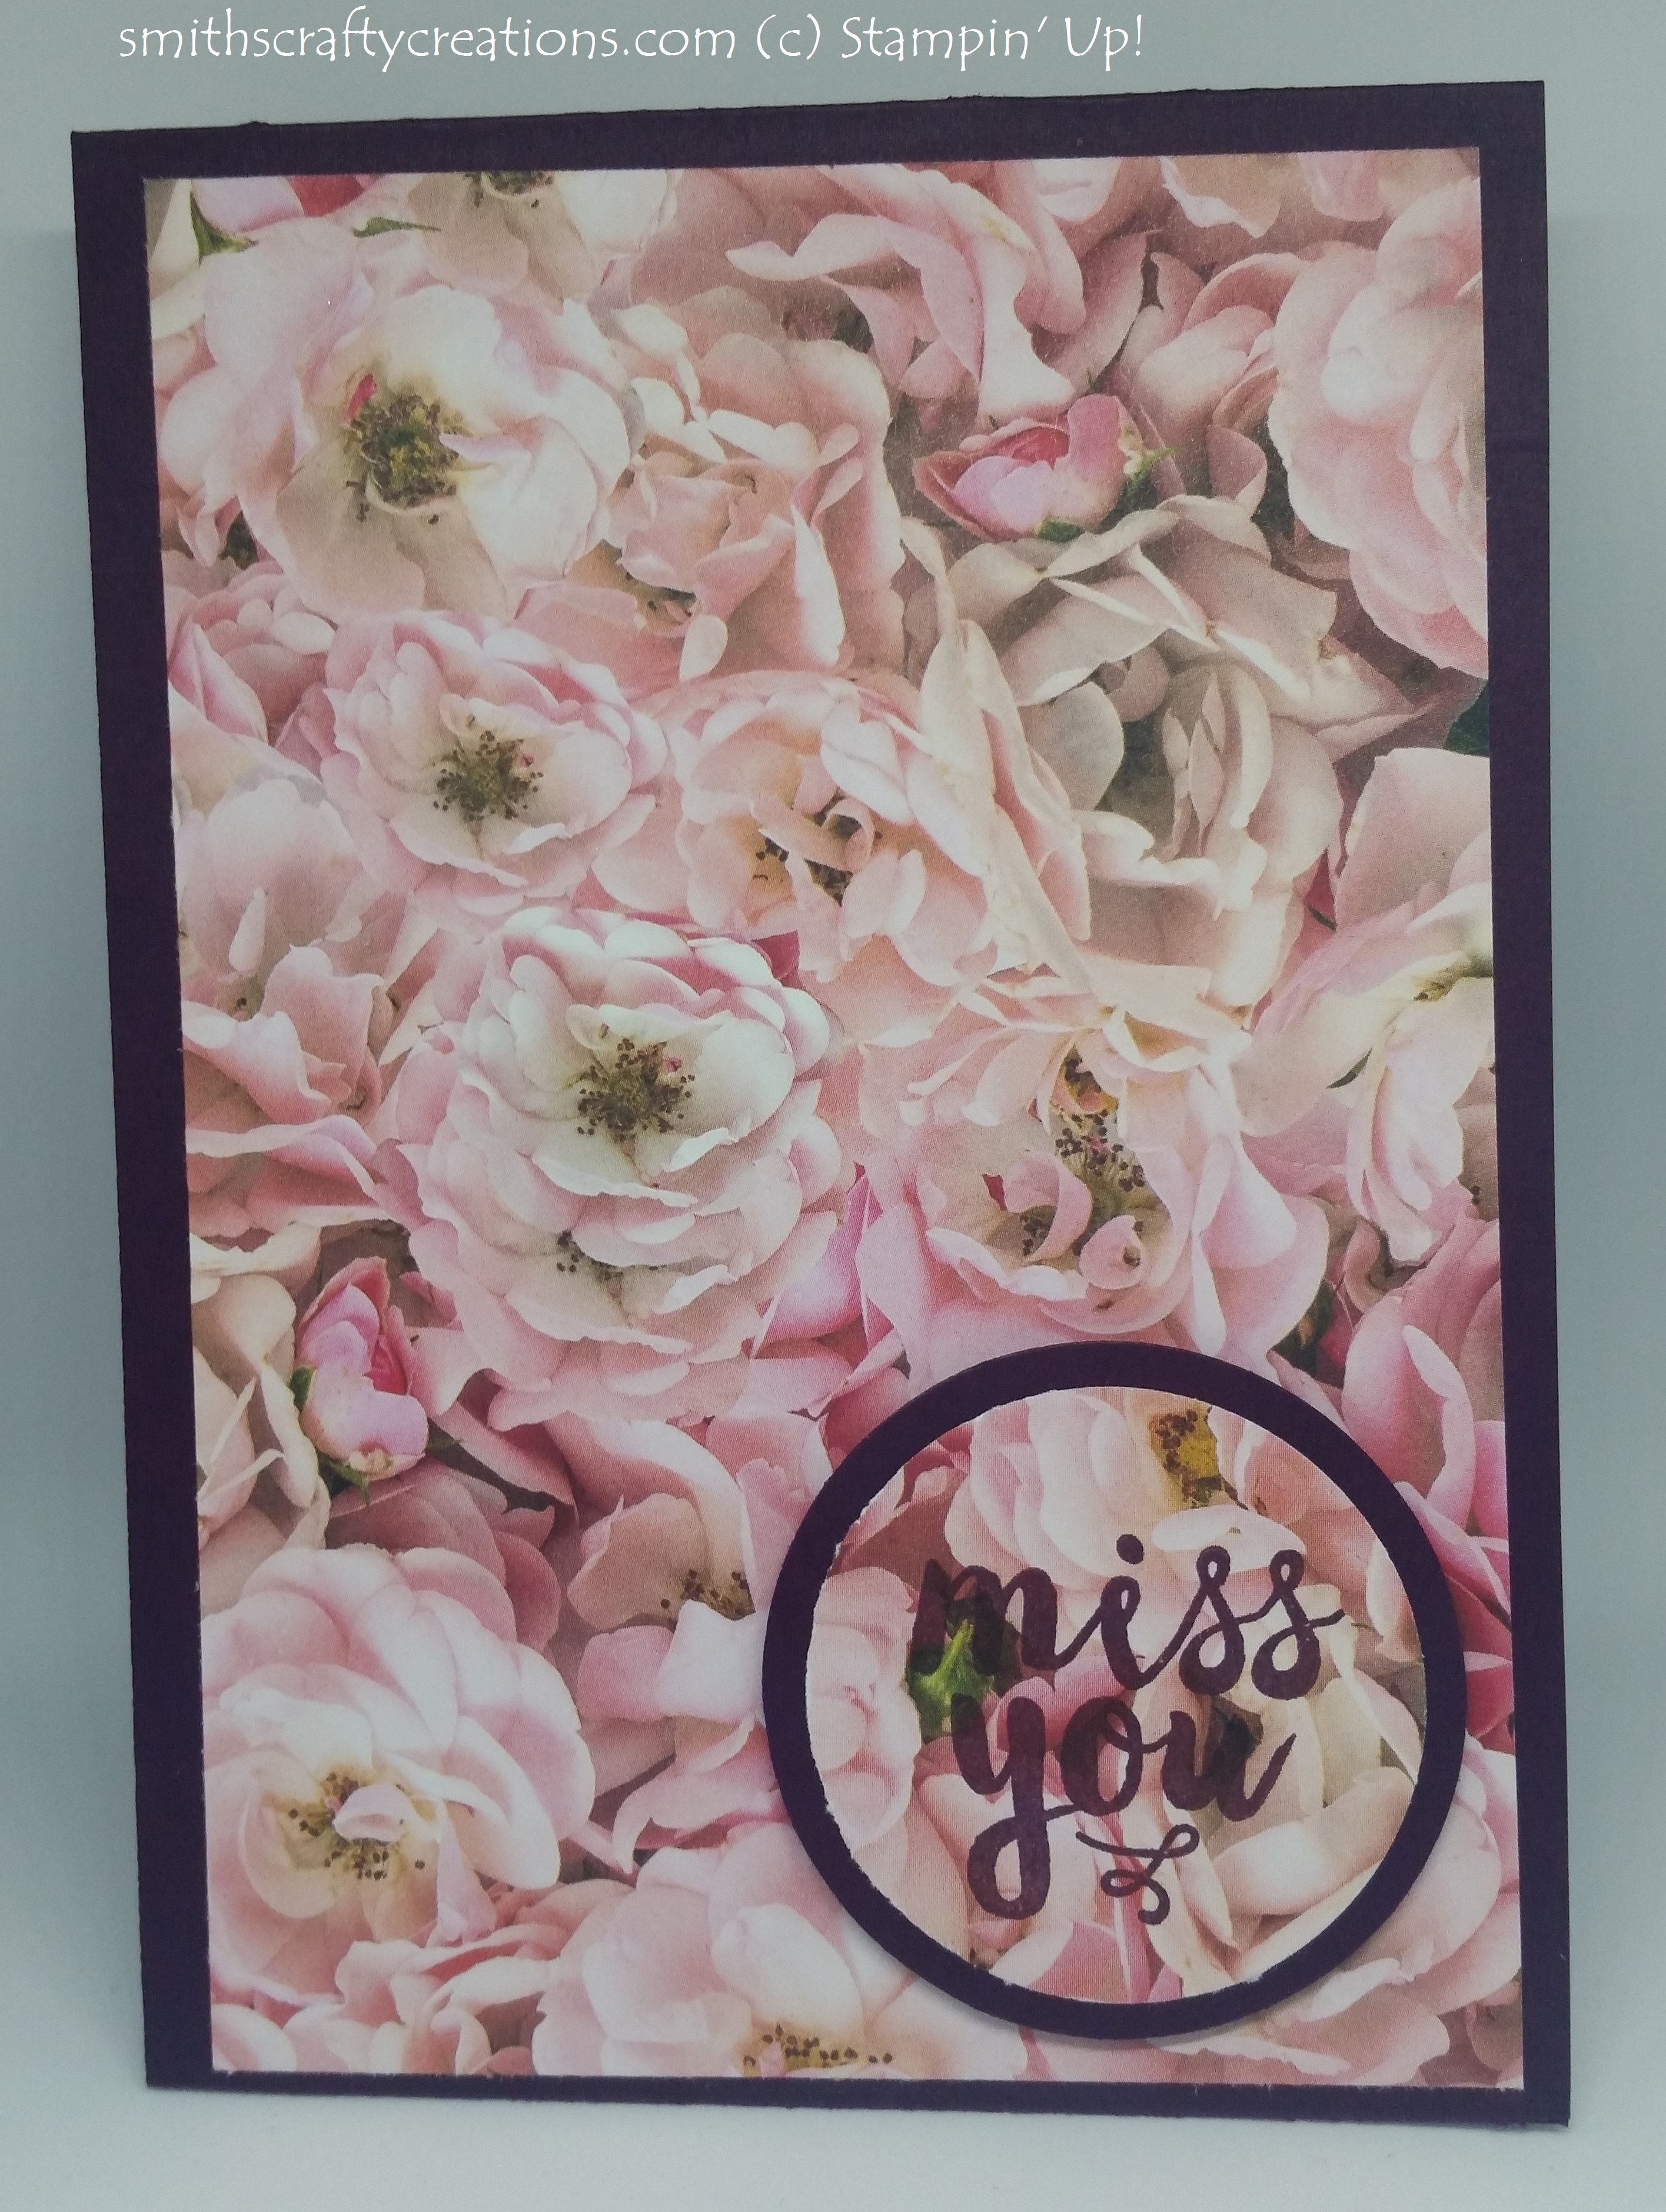
Intermediate (Casual)
Now the more experienced crafter, before stamping their sentiment, would layer up a piece of DSP onto Cardstock using, for example, the 1 3/4″ Circle Punch and the 2″ Circle Punch. They would then stamp using selected sentiment from their stamp set direct onto the top layer (stamping layer) of the card in the coordinating ink using a stamping block.
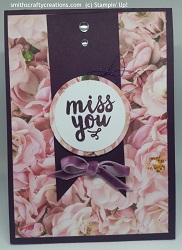
Advanced (Avid)
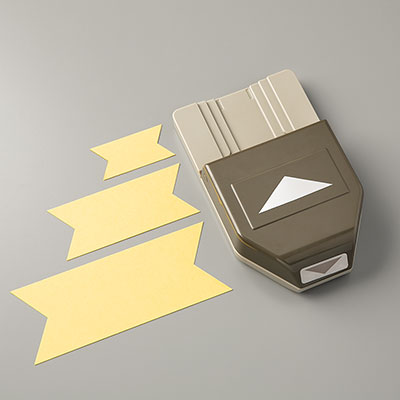
Once you start your crafting journey it won’t be long before you are at this level (this is by no means the most complicated of card but it does contain various elements and extras). With this card an additional decorative label section has been added. This section was achieved by cutting a 2″ piece of card and chomping off the end with the banner triple punch to make it look so much more professional.
The layered sentiment section has then been added (using dimensional foam pads), this time using white card stock as the stamping layer to give it some additional contrast.
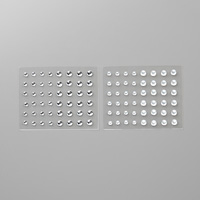
Finally, embellishments of clear epoxy droplets, coordinating thread and ribbon were added to finish the project.
So… you don’t need any experience, you only need someone to help you start what will be an amazing crafting journey (we all started somewhere and are still learning along the way!). Check out my monthly card making club blog to find out how you can make cards like these on a budget 🙂
Happy Crafting!
Love Tx
Be sure to follow me on Social Media and Subscribe to my YouTube channel. Search “Smithscraftycreations” Why not tag me in your project makes inspired by this tutorial.
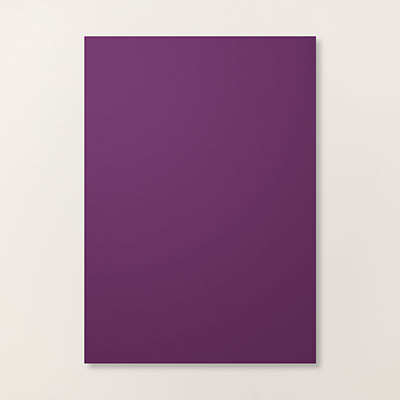
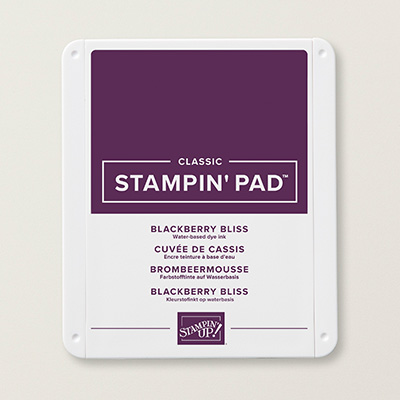
Products Used