

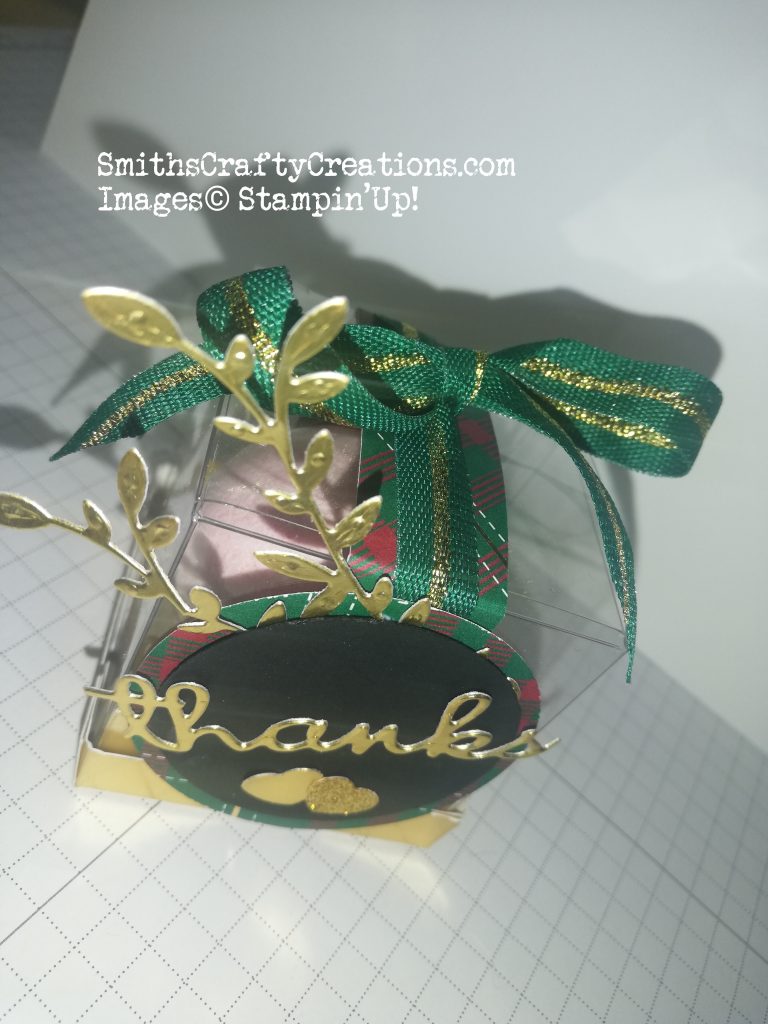
Today’s project is an adorable tiny treat acetate box in which I have crafted to hold a bath bomb
What a perfect size of treat box to hold this lush bath bomb.
This is just adorable right? I’m thinking wedding favours, burns supper table favours, gift, stocking filler…. the limits are endless.


 Specialty Designer Series Paper")

 Striped Ribbon")


Directions:
I created an inside half box shape and punched a circle out in the centre (you can use a circle die if you wish measuring 1 3/4″.
I then created the same but for the bottom of the box on the outside so that, once ribbon was added, this little section would allow my treat to stand flat.
Inner holder section:
Cut a piece of gold foil down to 3″ squared and score at 1/2″ on all four sides. Cut up one score line to meet the other score line on all four sides, remembering to take a little wedge off each tab you are creating.
Before you assemble it punch out a 1 3/4″ circle in the centre of the inner box you can see via the score lines. I punched out a circle from scrap and used this as a guide to pencil where I was to punch. Assemble together as you would a standard box lid and insert into bottom of treat box, adding your bath bomb too making sure it all fits snug.
Before we do the outer section for the bottom, we need to add DSP around the box for decoration.
DSP Band Section:
Cut a piece of the 6×6 DSP down to 1″ and Score at 2″ and 4″.
Wrap around the upper part of the treat box, adhere at each end with glue dots.
Add your ribbon by wrapping from bottom up, ensuring it’s placed centred on top of your DSP bell band, and tie in a bow at the top.
Outer bottom box section:
Cut a piece of gold foil down to 3″ and one sixteenth of an inch squared and score at seven sixteenths of an inch on all four sides. Cut up one score line to meet the other score line on all four sides, remembering to take a little wedge off each tab you are creating. Before you commit to adhering, make sure it fits snuggly around the bottom of your treat box. Once you know it is secure, add a little glue dot inside for extra security.
Sentiment Area:
I punched out a 2″ circle from the DSP and then die cut a stitched circle shape the next size down in basic black – you can use your 1 3/4″ retired punch if you have one.
Finally, I die cut the word thanks from a scrap of the gold foil I had and adhered it all together and placed firmly on the front of the treat box.
I finished off the sentiment area by adding some heart punched shapes in gold and also some foliage die cut shapes.


Thank you so much for taking the time to visit my blog today. Don’t forget to watch the YouTube tutorial below:
Don’t forget to check out my Shop Now page, Customer Reward Page, Monthly Creative Crafting Kit Page and my Special Offers pages.

Don’t forget to subscribe to my YouTube Channel too www.youtube.com/smithscraftycreations
