Learn how to scan then cut out printed images from your designer series paper
Hi and welcome to today’s blog tutorial which is a new series every Sunday called “Scan n Cut Sundays” and this is the eighth episode of the series.
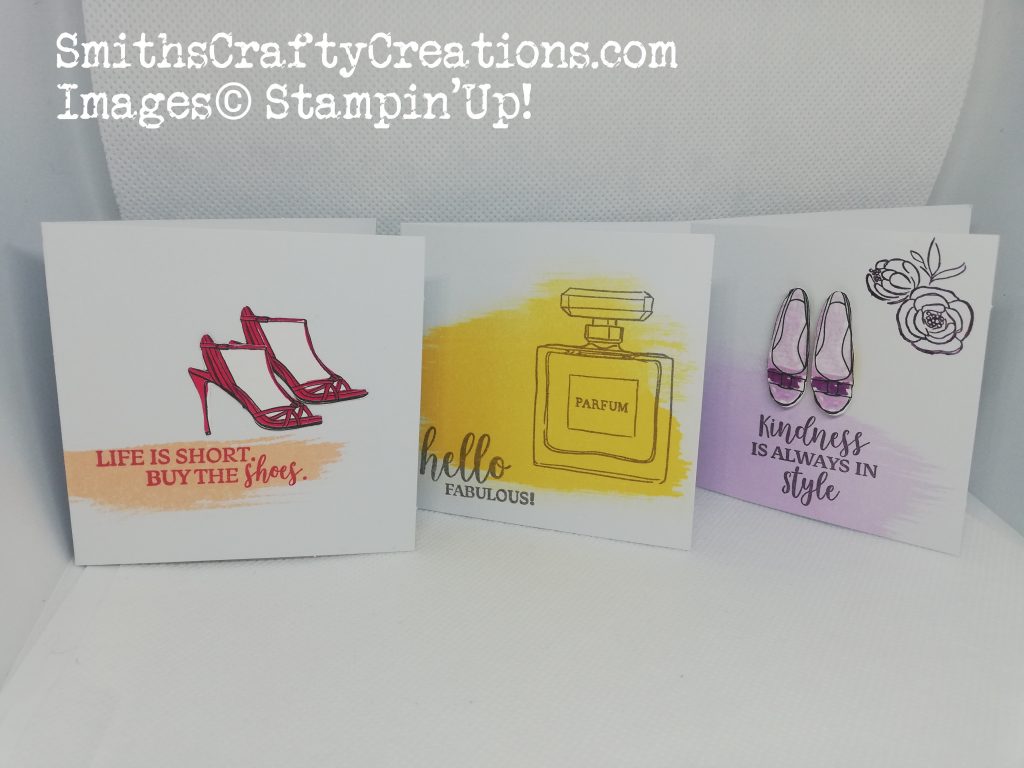
Today’s tutorial is to show you how to scan then cut out the beautiful printed images from some designer series paper. I am using the Best Dressed Designer Series Paper from the Best Dressed Suite. This suite is one of our new Mini Catalogue Product suites launching today, 3rd January 2020. I thought I’d share a project with you today to showcase how stunning it is.

Now I could have fussy cut the DSP but it’s so much quicker to scan and cut on my CM900. You can join me for LIVE chat during the YouTube premiere of this tutorial via the video link further down this page.
These notelets in this suite are adorable, I even stamped the matching envelopes too.

This YouTube video is linked below for you to view.
Feel free to visit my youtube channel which is available by clicking the image below. Full tutorial for this Scan n Cut project is further down the page.
Materials Used
Links to the supplies via my shop link below to purchase any of the products used today.
Product Listwww.smithscraftycreations.stampinup.net
Did I say I’d love for you to subscribe to my channel? I appreciate every one of you who do.
Looking for a hard copy of our Catalogue – why not Contact me for a free copy.
Thank you so much for visiting me today. I hope that you enjoyed this project and can take something away from today to try at home.
YouTube Tutorial – Scan n Cut Sundays #8 Best Dressed DSP & Notelets
Don’t forget to check out my Shop Now page, Customer Reward Page, Monthly Creative Crafting Kit Page and my Special Offers pages.
Don’t forget to subscribe to my YouTube Channel too www.youtube.com/smithscraftycreations


