

Welcome to today’s blog learning how to create this Parisian Blossoms Suite Frame Handmade Card
Hi and welcome to another blog post. This post is the follow up blog for a recent Facebook live that took place over on my Facebook Page. After very little thought I decided to make a Parisian Blossoms Suite Frame Handmade Card that turned out very beautiful.
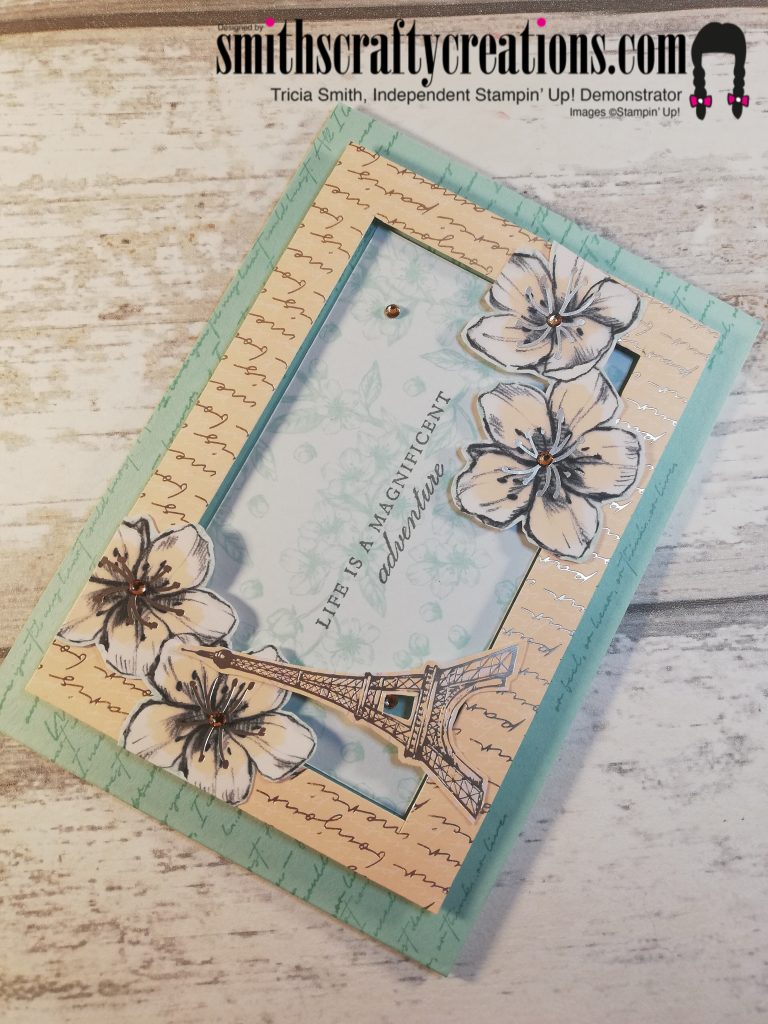
The fun thing about this suite is that the co-ordinating colours consist of only three colours which are Pool Party, Petal Pink and Cherry Cobbler.
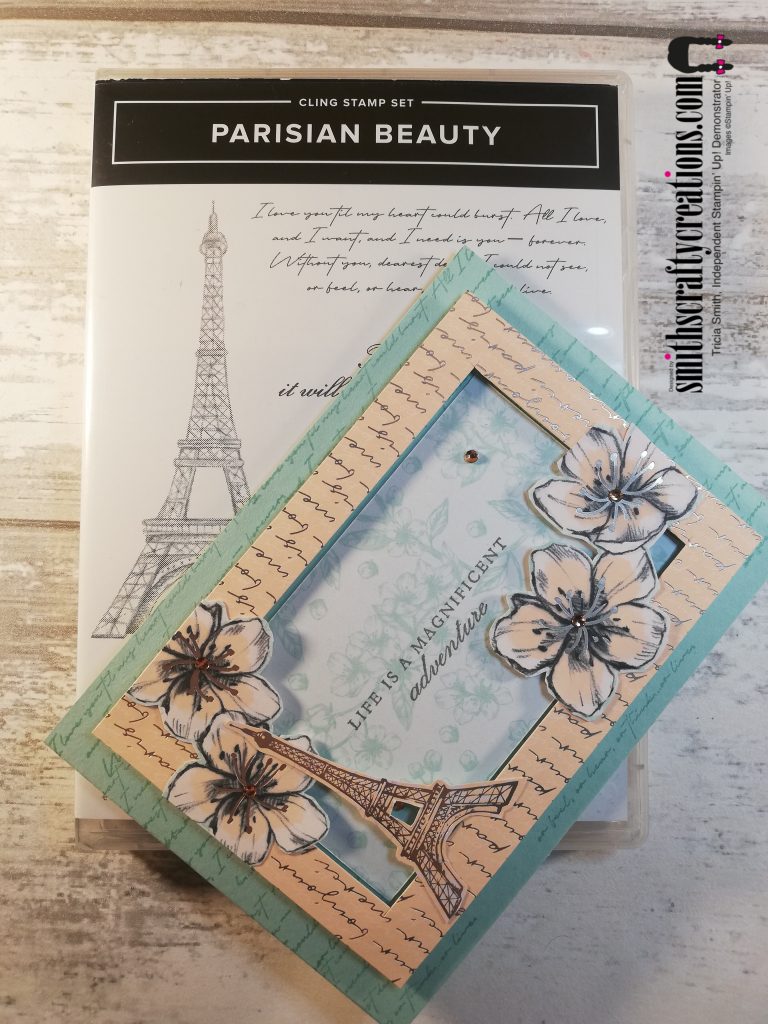
Can you see how versatile this set is and how vintage style can be so pretty. It is also extremely pretty. Just look at the detail in that designer series paper.

My Youtube channel is via the link below – I’d love for you to pop over to subscribe and watch this premiere with us.

Looking for a hard copy of our new Mini Catalogue – why not Contact me for a free copy.
Thank you so much for taking the time to visit my blog today.

Products Used:
Thank you so much for visiting me today. I hope that you enjoyed this project and can take something away from today to try at home.
Product List")


You can find all products in my online shop here:
www.smithscraftycreations.stampinup.net
Instructions
Card Front
I started off with a pool party card base measuring 4 1/8″ x 5 7/8″
I then cut a piece of the beautiful script print DSP down to 3 1/2″ x 5 1/8″
Using pool party tone on tone I stamped the scripty stamp image all around the edges of my card base.
Using my piece of DSP I cut out a section from the middle, leaving a 1/2″ wide framed section.
I layered this on the card using our foam strips then added the centre piece, reversed to show the other images on reverse side, to the inside of my frame. I then stamped a sentiment in basic grey, in the centre.
Using a 2 1/4″ strip of another piece of DSP (cut for another project)
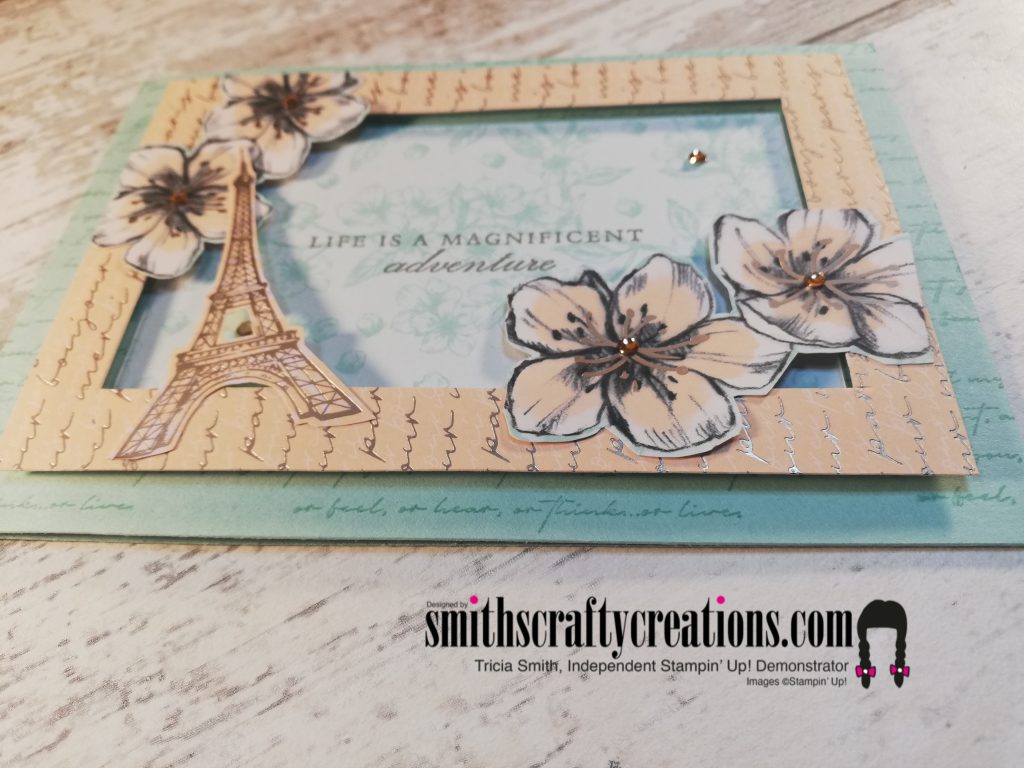
The flower images on the DSP were fussy cut out and I attached them to top left and bottom right corners of the framed area.
I then fussy cut out a further image from a different piece of DSP in this suite and added that too.
I finished off the card front by adding some champagne rhinestone jewels.
Card Inside
I added a strip of scrap from the DSP used on the front of my card and also a fussy cut flower that I had left over from the fussy cutting done on the card front.
I Finished off by adding another lovely sentiment, again in basic grey.
Don’t you just love how by using our foam strips you can get t
his lovely 3d effect. Foam strips are far less time consuming for projects like this, compared with our dimensionals.
I utilised what scraps of DSP I had left to decorate the inside of the card. I added a further sentiment in basic grey too – so pretty!

YouTube Tutorial – Beautiful Handmade Card
Don’t forget to check out my Shop Now page, Customer Reward Page, Monthly Creative Crafting Kit Page and my Special Offers pages.
Don’t forget to subscribe to my YouTube Channel too www.youtube.com/smithscraftycreations