

Welcome to today’s DSP Episode 24 A Handmade Card idea using See a Silhouette
Hello everyone and welcome to another blog post. Today is DSP #24 a Handmade Card using the See a Silhouette suite. Today’s project uses some of our beautiful designer series paper from this suite and our white Stampin’ Emboss Powder.
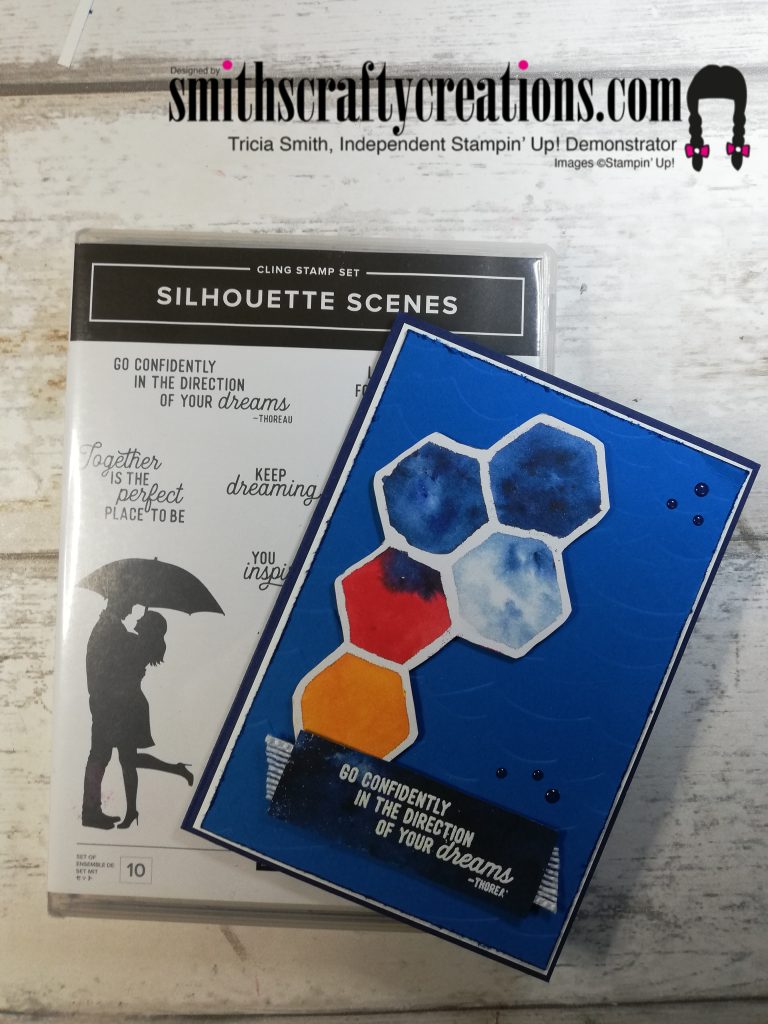
The colours chosen for today’s card are Night of Navy, Pacific Point and Whisper White mainly.

In this suite are various beautiful papers as well as gorgeous images in the stamp set.


My matt later was embossed using the High Seas 3D Embossing folder from the Come Sail Away Suite. You can mix and match products from different suites in your card making easily.

I just love how bold and bright my sentiment turned out, thanks to the luscious Night of Navy coloured DSP layer. What a wonderful sentiment.
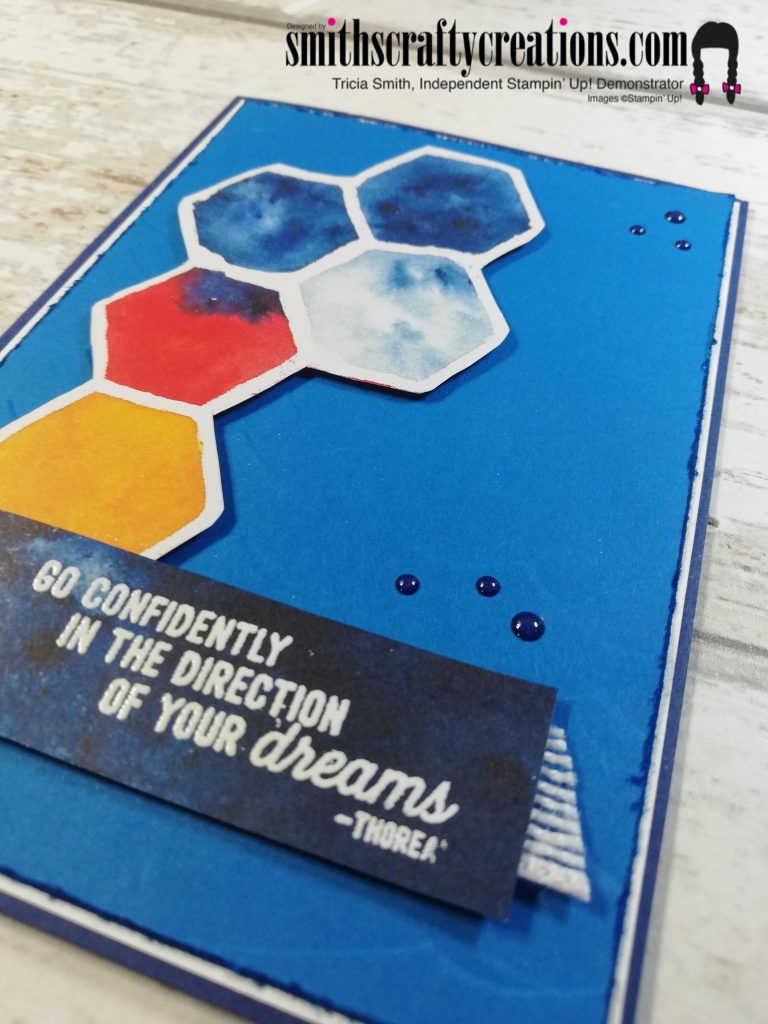
Adding ribbon and embellishments was not my initial plan but I am so glad that I did. I added a very small amount of our Whisper White Flax Ribbon and some Happiness Blooms Enamel Dots.
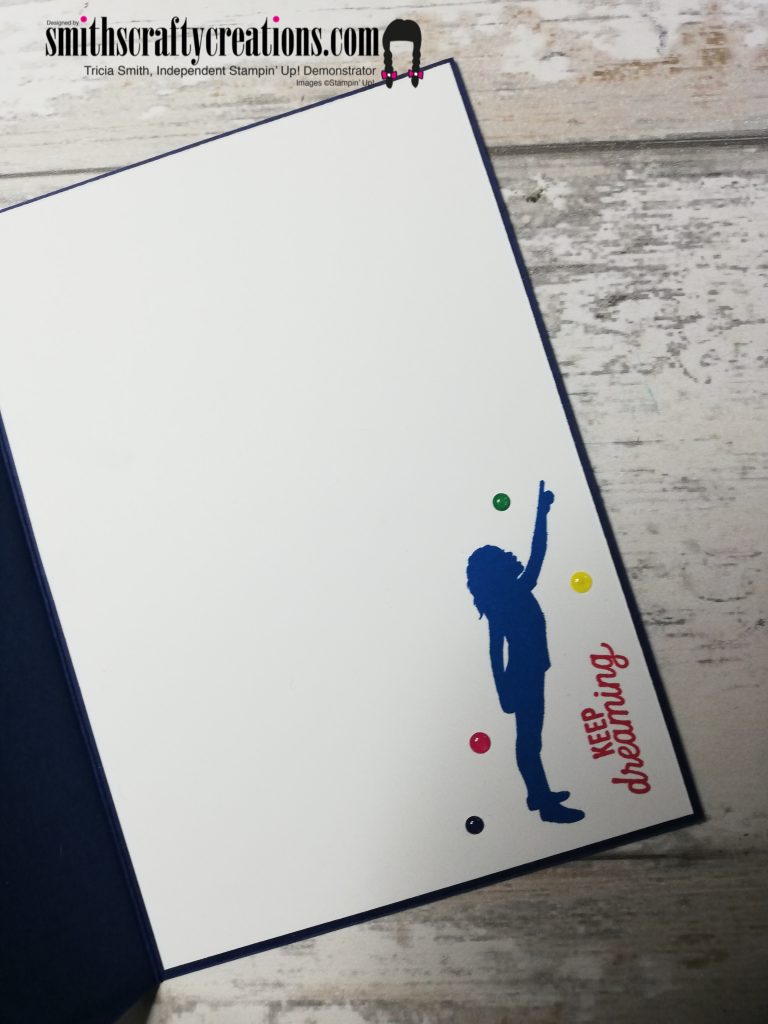
Keep dreaming sentiment and the little girl pointing to the stars image were a must for the inside. I added more pop of colours with the same enamel dots.
All products used are listed below for your perusal.
My Youtube channel is via the link below – I’d love for you to pop over to subscribe and watch this premiere with us.

Looking for a hard copy of our new Mini Catalogue – why not Contact me for a free copy.
Thank you very much for taking the time to visit my blog today. I hope that you have time to view the YouTube video below also.
Products Used:
I hope that you enjoyed this project and can take something away from today to try at home.
Product List


 Flax Ribbon")


YouTube Tutorial – DSP #24 A handmade card using See a Silhouette
You can join me at 7am UK time for crafty chat via my youtube tutorial (link below) premiere. Simply click on the link and set yourself a reminder 🙂
Instructions:
Start off by cutting a piece of night of navy card stock and folding in half for your card base (measuring 4 1/8 x 5 7/8 when folded)
For the matt layer one (whisper white) make sure this measures 4 x 5 3/4″ and adhere to card base. For matt layer two use Pacific Point card stock measuring 3 7/8 x 5 5/8″.
Run the pacific point card stock through your embossing machine using the High Seas 3D folder. Add ink to edge and fluff up the sides of this matt (see video).
Fussy cut a section out of the hexagonal print paper in your DSP pack.
Use a scrap piece of DSP that matches your card and stamp and emboss a sentiment using our White Stampin’ Emboss Powder, heat set and add flax ribbon to the back (see my tip in the video).
Adhere all layers together with wet glue. Add your DSP fussy cut section and your sentiment using dimensionals.
Add card insert to inside and stamp / decorate as you wish.
finish off by adding your enamel dots to front to decorate.
Don’t forget to check out my Shop Now page, Customer Reward Page, Monthly Creative Crafting Kit Page and my Special Offers pages.
Don’t forget to subscribe to my YouTube Channel too www.youtube.com/smithscraftycreations