

Make it Monday #56 How to make a z-fold easel card
Hello and welcome to another blog post I am so happy you are here today. Today’s Make it Monday episode is a lovely fancy fold card. I want to show you how to make a z-fold easel card easily. Today I am using the lovely Mosaic Mood Designer Series Paper along with the lovely Painted Glass Stamp Set. Both are annual catalogue items.
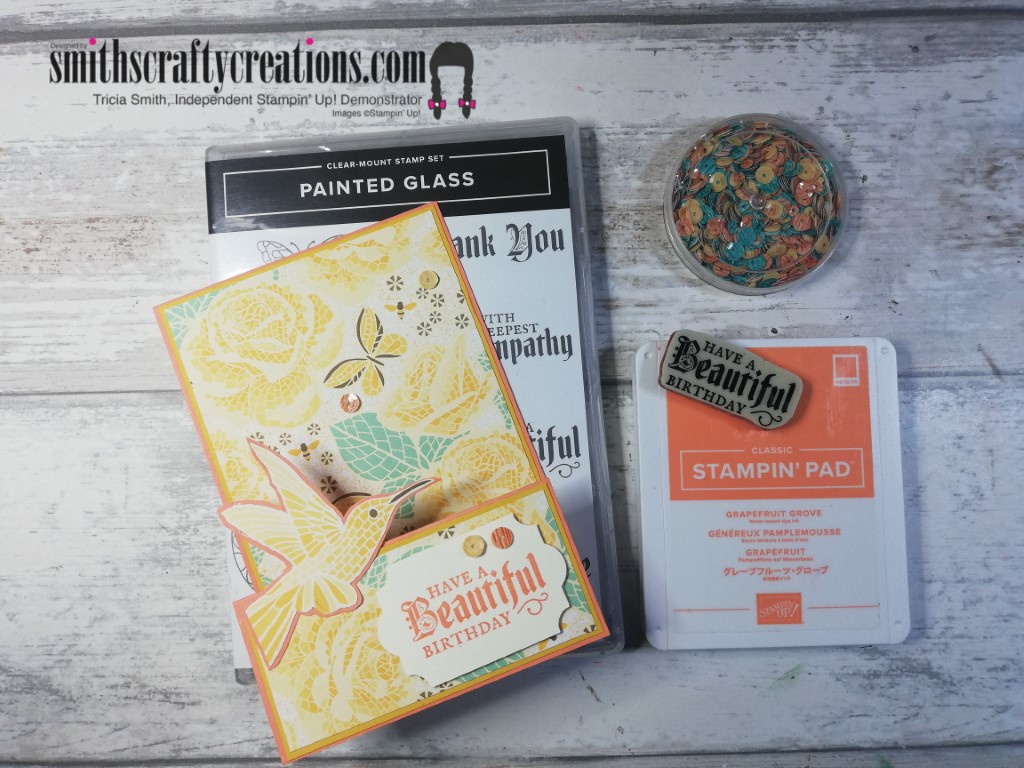
Here is a closer look at this beautiful paper and the stamp set.


Colours chosen today I feel co-ordinate really well. I am using Grapefruit Grove and Crushed Curry.

Without a doubt I love the fact that the sequins used today are a FREE sale-a-bration product that you can still order today. SAB ends 31st of this month. Metallic twine and patterned sequins from the Metallic Baker’s Twine & Sequins Combo Pack add the perfect finish to handmade cards and other paper projects. The twine has metallic thread woven through for delicate glimmer. Earn this embellishment combo pack FREE with a qualifying purchase

The embellishments are from the free twine and sequins set. Here is a closer look at the FREE combo pack.

Here is a look at the easel / stand section on the back of my card. The great thing about this is that you can fold it down for easier posting.

Please visit my YouTube channel via the link below. Don’t forget to like, comment, share and subscribe if you like the tutorial.

Looking for a hard copy of our new Mini Catalogue – why not Contact me for a free copy.
I’d like to thank you for taking the time to visit my blog today.
Products Used:
I hope that you enjoyed this project and can take something away from today to try at home.
Product List


You can find all products in my online shop here:
www.smithscraftycreations.stampinup.net
Instructions:
Card Base
Grapefruit Grove Card base is 4 1/8″ x 9 7/8″ – Score at 5 7/8″ & 7 7/8″
Matt Layers
I have three Crushed Curry matt layers measuring:
One at 4″ x 5 3/4″ and Two at 4″ x 1 7/8″
Matt Layer for Back
This is very vanilla and should measure 4″ x 5 3/4″
DSP Layers
I have three Mosaic Mood DSP layers measuring:
One at 3 7/8″ x 5 5/8″ and Two at 3 7/8″ x 1 3/4″
Stamping
For stamping I stamped the birthday sentiment from my Painted Glass Stamp Set on to a scrap piece of Very Vanilla cardstock.
Punching
Use your Everyday Label Punch to punch out that sentiment.
Easel Stand for back of card
Cut a piece of grapefruit grove cardstock down to 2″ x 3″ – Score down longest side at half an inch. Cut section away from bottom corner up to score line to create the easel stand.
Option: Add a half inch by 3″ strip of DSP on to the rectangle section.
Fussy Cut Sections
Choose an image from the DSP, I chose the hummingbird, and fussy cut it out. Layer it up if you wish on to grapefruit grove cardstock. You don’t want your image to clash if the background is a similar colour.
Assemble your card
Make sure that you have burnished all your scores well. Adhere all layers together (including piece for back of card) and attach your fussy cut image to front section of card. Using dimensionals, attach your sentiment piece. Importantly, add your easel section to back of card
Decoration
Please add sequins to front of card for decoration.
This card turned out so pretty, so much so that I held an online class Saturday past. Check out the Facebook Live Replay Video for that here

YouTube Tutorial – Make it Monday #56 How to make a z-fold easel card
Have a look at the tutorial which I have linked below for you. Join me at 4pm for live chat. Thank you kindly.
Importantly, don’t forget to check out my Shop Now page, Customer Reward Page, Monthly Creative Crafting Kit Page and my Special Offers pages.
Don’t forget to subscribe to my YouTube Channel too www.youtube.com/smithscraftycreations