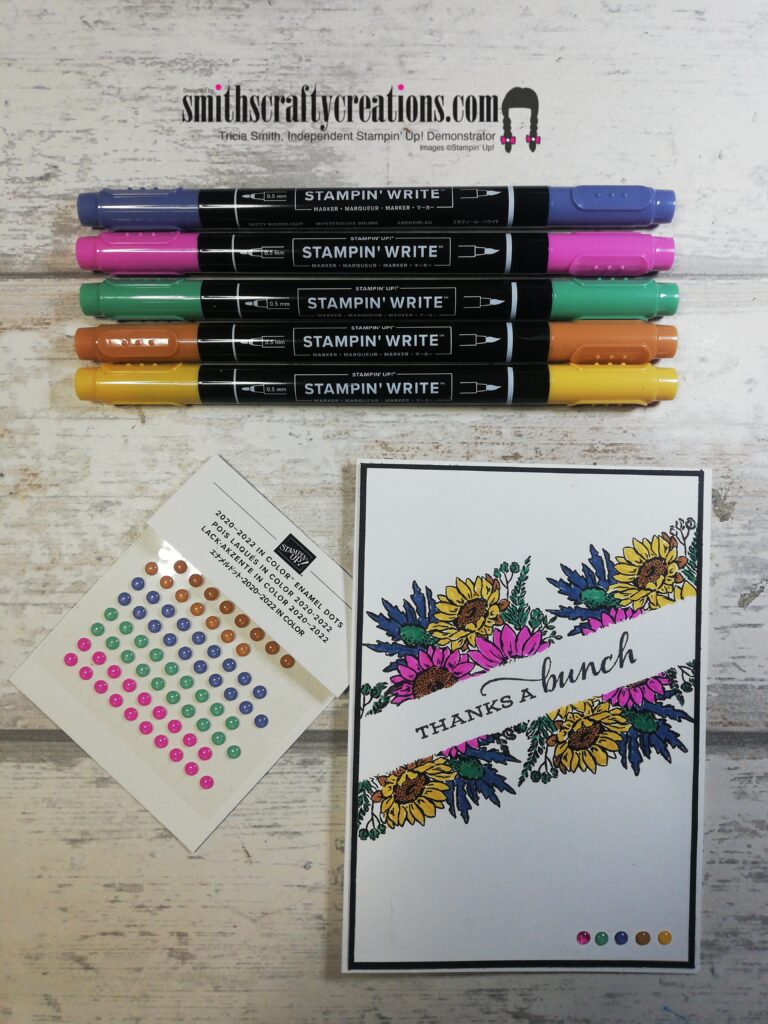
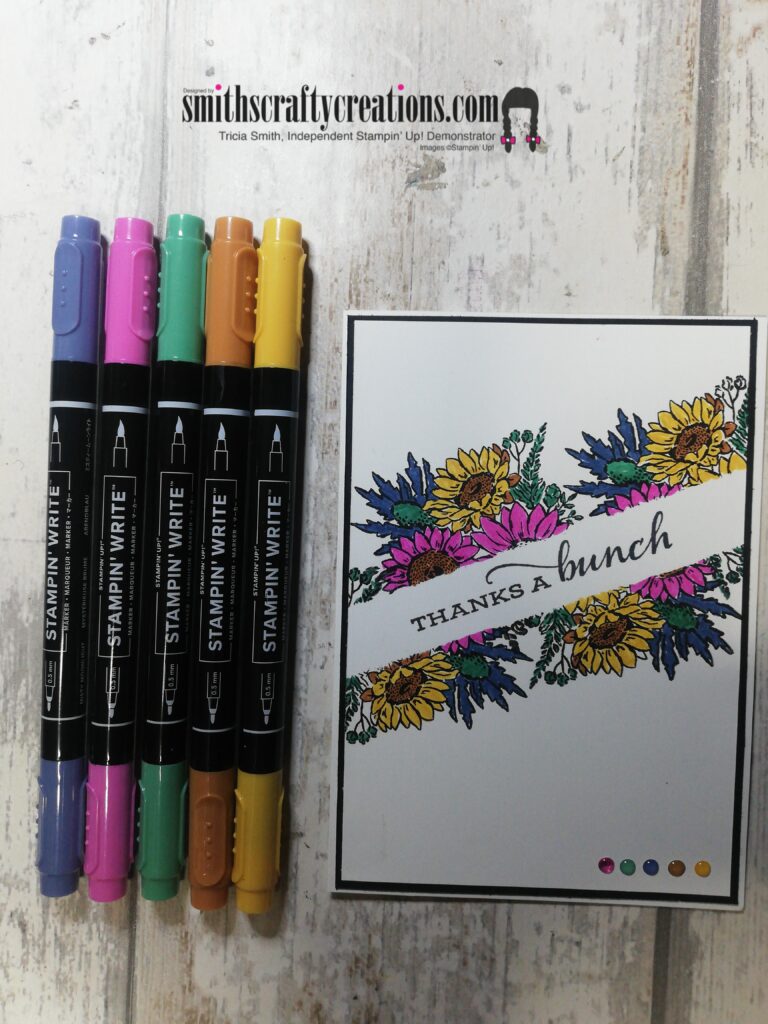
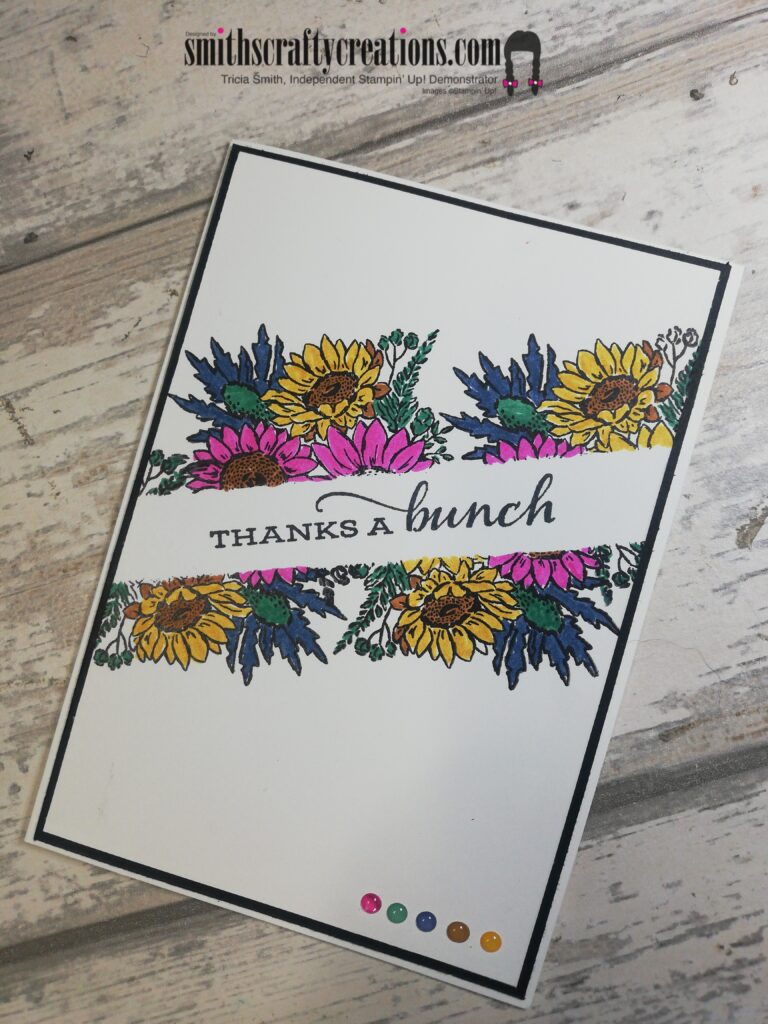
Welcome to today’s blog post on how to make a hand coloured thank you card.
Hi and welcome to my blog. Today’s project was thoroughly enjoyable to make. Let me show you how to make a handmade coloured thank you card using my latest Stampin’ Write Markers added to my collection. Our new in-colours 2020-22.

For today’s project I used a standard whisper white card base layered with basic black card stock. My stamping layer is also whisper white.

I used some basic masking techniques to make today’s card. The stamp sets used were Celebrate Sunflowers and also Jar of Flowers.

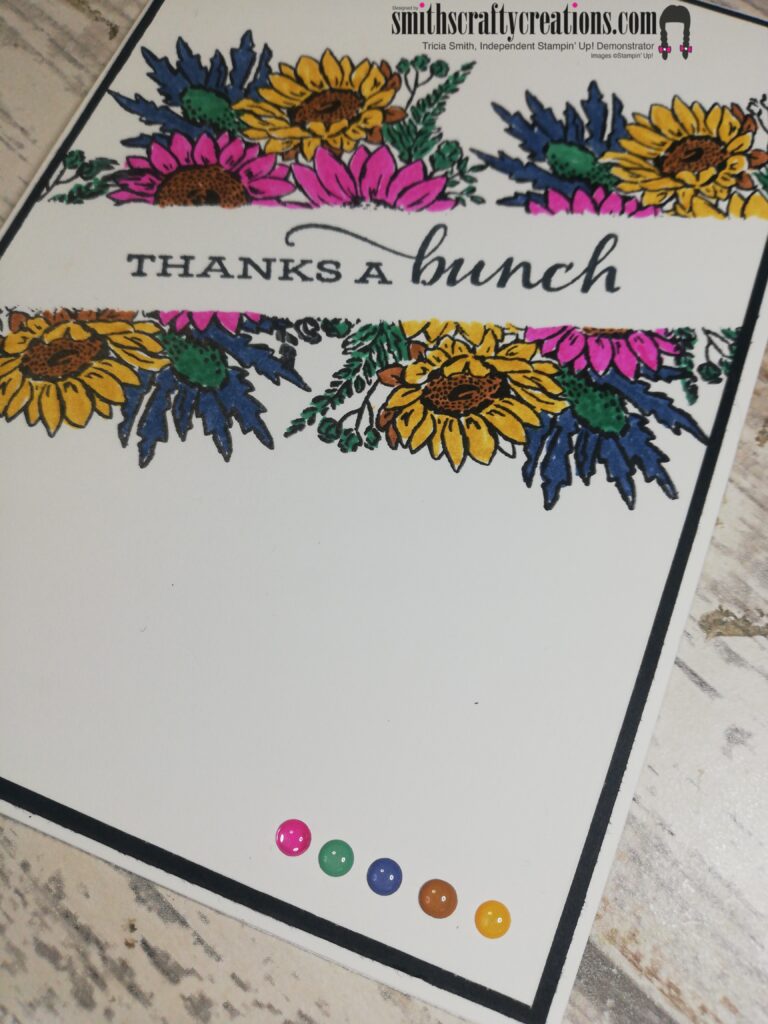
Here you can see clearer, the wonderful detail in this stamp set.

Products Used:
Quick link to all products here in my: Micro-site Link
Alternatively click on the image below:
Instructions
- Card once folded measures 4-1/8″ x 5-7/8″ and is whisper white
- Basic black layer is 4″ x 5-3/4″
- Stamping Layer is 3-7/8″ x 5-5/8″
- Place a piece of photocopier paper at desired angle that you want the line and stamp images of your choice.
- Repeat on opposite side ensuring enough of a gap is left for your chosen sentiment width.
- Stamp sentiment
- Colour Images
- Adhere all layers together
- Add in-colour enamel dots to bottom right corner
I’d love for you to pop over to my YouTube Channel and give me a little subscribe, a thumbs up, a comment and don’t forget to hit that bell to be notified of future video tutorials.
Looking for a hard copy of our new Mini Catalogue – why not Contact me for a free copy. I hope that you enjoyed this blog post and can take something away from today to try at home.
You can find all products in my online shop here:
www.smithscraftycreations.stampinup.net
Don’t forget to check out my Shop Now page, Customer Reward Page, Monthly Creative Crafting Kit Page and my Special Offers pages.
Don’t forget to subscribe to my YouTube Channel too www.youtube.com/smithscraftycreations


